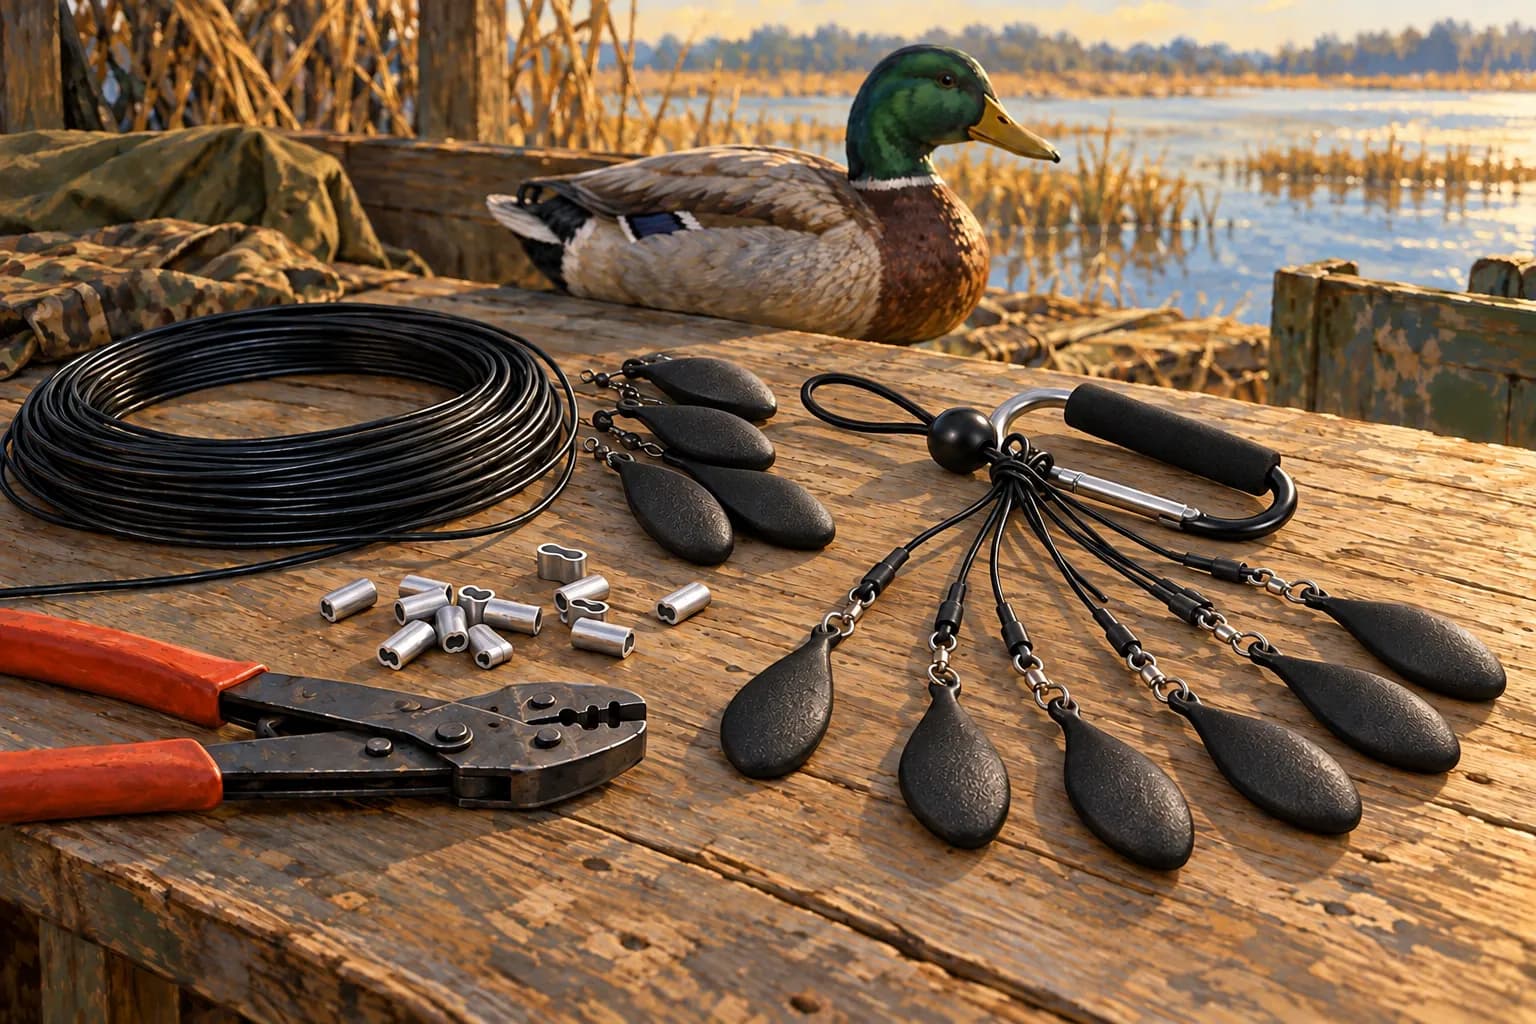
Build your own Texas rigs when you need particular lengths or components and can follow their assembly instructions. Choose pre-rigged anchors when an available kit already matches your water and decoys. Compare the finished system, the tools you need and the number of usable rigs, then decide whether the DIY work is worthwhile.
Lead image: AI-generated editorial illustration based on Lirben product photos. Refer to the product listing for exact appearance and supplied contents.
What does a DIY Texas rig involve?
A DIY project starts with a known rig design and compatible purchased parts. You choose the line, weight, sleeves and connection, then assemble and inspect the rig using the component maker's method. This guide helps you plan that purchase. Exact cutting, crimping and attachment instructions belong to the particular components.
A pre-rigged kit arrives assembled, but you still need to inspect it, attach it correctly and check whether its fixed specifications fit the hunt. Ducks Unlimited distinguishes homemade rigging from ready-made kits in its component guide. Neither route removes the need to choose suitable equipment.
Finished specifications
- DIY with purchased parts
- Choose a compatible design
- Pre-rigged kit
- Check the offered design
Assembly
- DIY with purchased parts
- Your tools and method
- Pre-rigged kit
- Assembled before purchase
Quantity planning
- DIY with purchased parts
- Count usable components
- Pre-rigged kit
- Count complete rigs per pack
Before use
- DIY with purchased parts
- Inspect your assembly
- Pre-rigged kit
- Inspect the supplied assembly
Cost comparison
- DIY with purchased parts
- Parts, tools and delivery
- Pre-rigged kit
- Kit and delivery
| Feature | DIY with purchased parts | Pre-rigged kit |
|---|---|---|
| Finished specifications | Choose a compatible design | Check the offered design |
| Assembly | Your tools and method | Assembled before purchase |
| Quantity planning | Count usable components | Count complete rigs per pack |
| Before use | Inspect your assembly | Inspect the supplied assembly |
| Cost comparison | Parts, tools and delivery | Kit and delivery |
Plan before buying parts
Step 1
Write down the finished rig you need
Choose the length, anchor and decoy connection before comparing kits or loose parts.
Write down the deepest planned placement, your decoy attachment and the anchor you intend to use. Decide how the rig will gather for pickup. Texas rigs vary, so copy the component maker's complete design rather than mixing details from several tutorials.
Ducks Unlimited's older Texas-rig tutorial describes one heavy-monofilament assembly. Its stated dimensions belong to that example. They do not establish the correct sleeve, tool or line size for coated steel cable.
Use the line-length guide and weight-selection guide to decide what you need before comparing DIY parts with a completed kit.
Step 2
Count compatible parts and tools
Check every component in the planned design and include the correct assembly tools.
For your chosen design, list line or cable, purchased anchors, compatible sleeves, swivels or other specified connections, and carry hardware. Count what the design uses per rig. Some layouts use different numbers of loops and fittings, so a generic shopping list is not an exact bill of materials.
Check whether a DIY kit includes anchors. Check the required cutter and crimping tool too. Buying a spool and sleeves does not mean you already own a suitable tool. Keep a sample assembly available until you have confirmed the fit on your actual decoy.
The line and hardware guide explains the compatibility questions to resolve before assembly.
A usable parts and tools worksheet
Record the complete design before ordering. Use the component maker's quantities and allowances for that design. A design with a different terminal loop or sliding arrangement may need different fittings, even if the finished rig looks similar.
Finished rig requirement
- Record for the chosen design
- Intended decoy, usable reach, anchor and connection method
- Count toward usable output
- Complete compatible rigs needed, plus any deliberately chosen spares
Line or cable
- Record for the chosen design
- Material, diameter, approved cut length and loop allowances
- Count toward usable output
- Whole finished rigs obtainable after allowances and practice pieces
Purchased anchors
- Record for the chosen design
- Shape, mass and connection dimensions
- Count toward usable output
- Sound compatible anchors, not merely the package count
Sleeves and terminal fittings
- Record for the chosen design
- Exact compatible parts and quantity used by this design
- Count toward usable output
- Complete connection sets, with the limiting fitting identified
Carry and storage parts
- Record for the chosen design
- The design's loops, carrying connector and storage method
- Count toward usable output
- The groups you can organize with those supplied accessories
Tools
- Record for the chosen design
- Specified cutter, crimping tool or die, measuring tool and instructions
- Count toward usable output
- Tools you already have that actually match the method, plus required purchases
| Feature | Record for the chosen design | Count toward usable output |
|---|---|---|
| Finished rig requirement | Intended decoy, usable reach, anchor and connection method | Complete compatible rigs needed, plus any deliberately chosen spares |
| Line or cable | Material, diameter, approved cut length and loop allowances | Whole finished rigs obtainable after allowances and practice pieces |
| Purchased anchors | Shape, mass and connection dimensions | Sound compatible anchors, not merely the package count |
| Sleeves and terminal fittings | Exact compatible parts and quantity used by this design | Complete connection sets, with the limiting fitting identified |
| Carry and storage parts | The design's loops, carrying connector and storage method | The groups you can organize with those supplied accessories |
| Tools | Specified cutter, crimping tool or die, measuring tool and instructions | Tools you already have that actually match the method, plus required purchases |
The limiting component determines output. Suppose your selected design's line supply can make 18 finished rigs and you have 20 compatible anchors, but only 16 complete sets of its specified connection parts. You can make at most 16 complete rigs before allowing for practice pieces or rejected assemblies. The spare anchors do not make the other two rigs usable.
That example counts complete connection sets. It does not assume two crimps, one swivel or any other universal fitting count per rig. Use the hardware guide to confirm the specifications and the fixed-versus-sliding guide to understand the arrangement you are building.
Step 3
Compare the complete cost and work
Include unused parts, tools, delivery and assembly checks before choosing build or buy.
Compare the cost of the usable rigs you need. Include the tools you must buy, delivery charges and parts left over after the build. Existing tools reduce new spending, but parts you cannot use do not make a small project cheaper.
Allow time for the first assembly, inspection and any corrections. Do not assume a fixed number of minutes per dozen. If you cannot verify a connection or source matching components, a suitable assembled kit may be the simpler purchase.
Compare delivered cost per usable rig
Use your current prices rather than an advertised saving from someone else's build. Add required parts, required new tools and delivery or other purchase charges. Divide that total by the complete usable rigs the purchase will produce. Keep labor time as a separate decision unless you deliberately choose a value for your own time.
For a kit, include the price and purchase charges, then count the completed rigs whose specifications actually meet your need. If you need 18 individual rigs, two 12-packs provide 24 rigs, but only 18 are needed for that plan. Record both total cash spent and the six remaining rigs. Do not count unwanted leftovers as an automatic saving.
Cash required now
- DIY entry
- Parts plus needed tools and purchase charges
- Pre-rigged entry
- Kits plus purchase charges
Usable complete output
- DIY entry
- Output allowed by the limiting compatible component
- Pre-rigged entry
- Completed rigs that match the intended specifications
Remaining items
- DIY entry
- Unused parts and tools retained for later
- Pre-rigged entry
- Unused completed rigs retained for later
Work still needed
- DIY entry
- Assembly practice, build, inspection and attachment
- Pre-rigged entry
- Inspection, attachment and fit check
| Feature | DIY entry | Pre-rigged entry |
|---|---|---|
| Cash required now | Parts plus needed tools and purchase charges | Kits plus purchase charges |
| Usable complete output | Output allowed by the limiting compatible component | Completed rigs that match the intended specifications |
| Remaining items | Unused parts and tools retained for later | Unused completed rigs retained for later |
| Work still needed | Assembly practice, build, inspection and attachment | Inspection, attachment and fit check |
Write the assumptions beside the calculation. If the DIY total only looks lower because a required tool is omitted or unused parts are counted as completed rigs, the comparison is incomplete. Conversely, a tool you already own and have confirmed as suitable is not new spending.
Worked cost example with hypothetical figures
For arithmetic only, assume USD 48 for all required parts, USD 24 for a suitable tool you need to buy and USD 8 in delivery and other purchase charges. The assumed total is USD 80. If those purchases produce 16 complete usable rigs, USD 80 divided by 16 is USD 5 per usable rig, before valuing your assembly time.
These figures are invented inputs for the calculation, not supplier prices, a Lirben offer or a savings claim. The result assumes all 16 rigs are complete and suitable. If only 12 are usable, the same USD 80 purchase costs about USD 6.67 per usable rig. Enter your real costs and inspected output before comparing it with a kit.
How many rigs and packs do you need?
For individually anchored decoys, plan one complete rig per decoy. Count only the decoys you intend to anchor with that system. A longline group has different components and does not use the same pack calculation.
The Lirben kit contains 12 completed rigs. Here is the arithmetic for a spread that uses one on every decoy.
6 individually anchored decoys
- Complete rigs needed
- 6
- 12-packs
- 1
- Rigs left over
- 6
12 individually anchored decoys
- Complete rigs needed
- 12
- 12-packs
- 1
- Rigs left over
- 0
18 individually anchored decoys
- Complete rigs needed
- 18
- 12-packs
- 2
- Rigs left over
- 6
24 individually anchored decoys
- Complete rigs needed
- 24
- 12-packs
- 2
- Rigs left over
- 0
| Feature | Complete rigs needed | 12-packs | Rigs left over |
|---|---|---|---|
| 6 individually anchored decoys | 6 | 1 | 6 |
| 12 individually anchored decoys | 12 | 1 | 0 |
| 18 individually anchored decoys | 18 | 2 | 6 |
| 24 individually anchored decoys | 24 | 2 | 0 |
These are quantity examples, not advice about the right spread size for a particular hunt. Extra rigs can be kept as spares; they do not require you to deploy more decoys.
Choose the hunting spread in the decoy-count guide, then return here to count the rigs assigned to individual anchors. A jerk-rig group or longline has a different component plan.
When does the Lirben kit make sense?
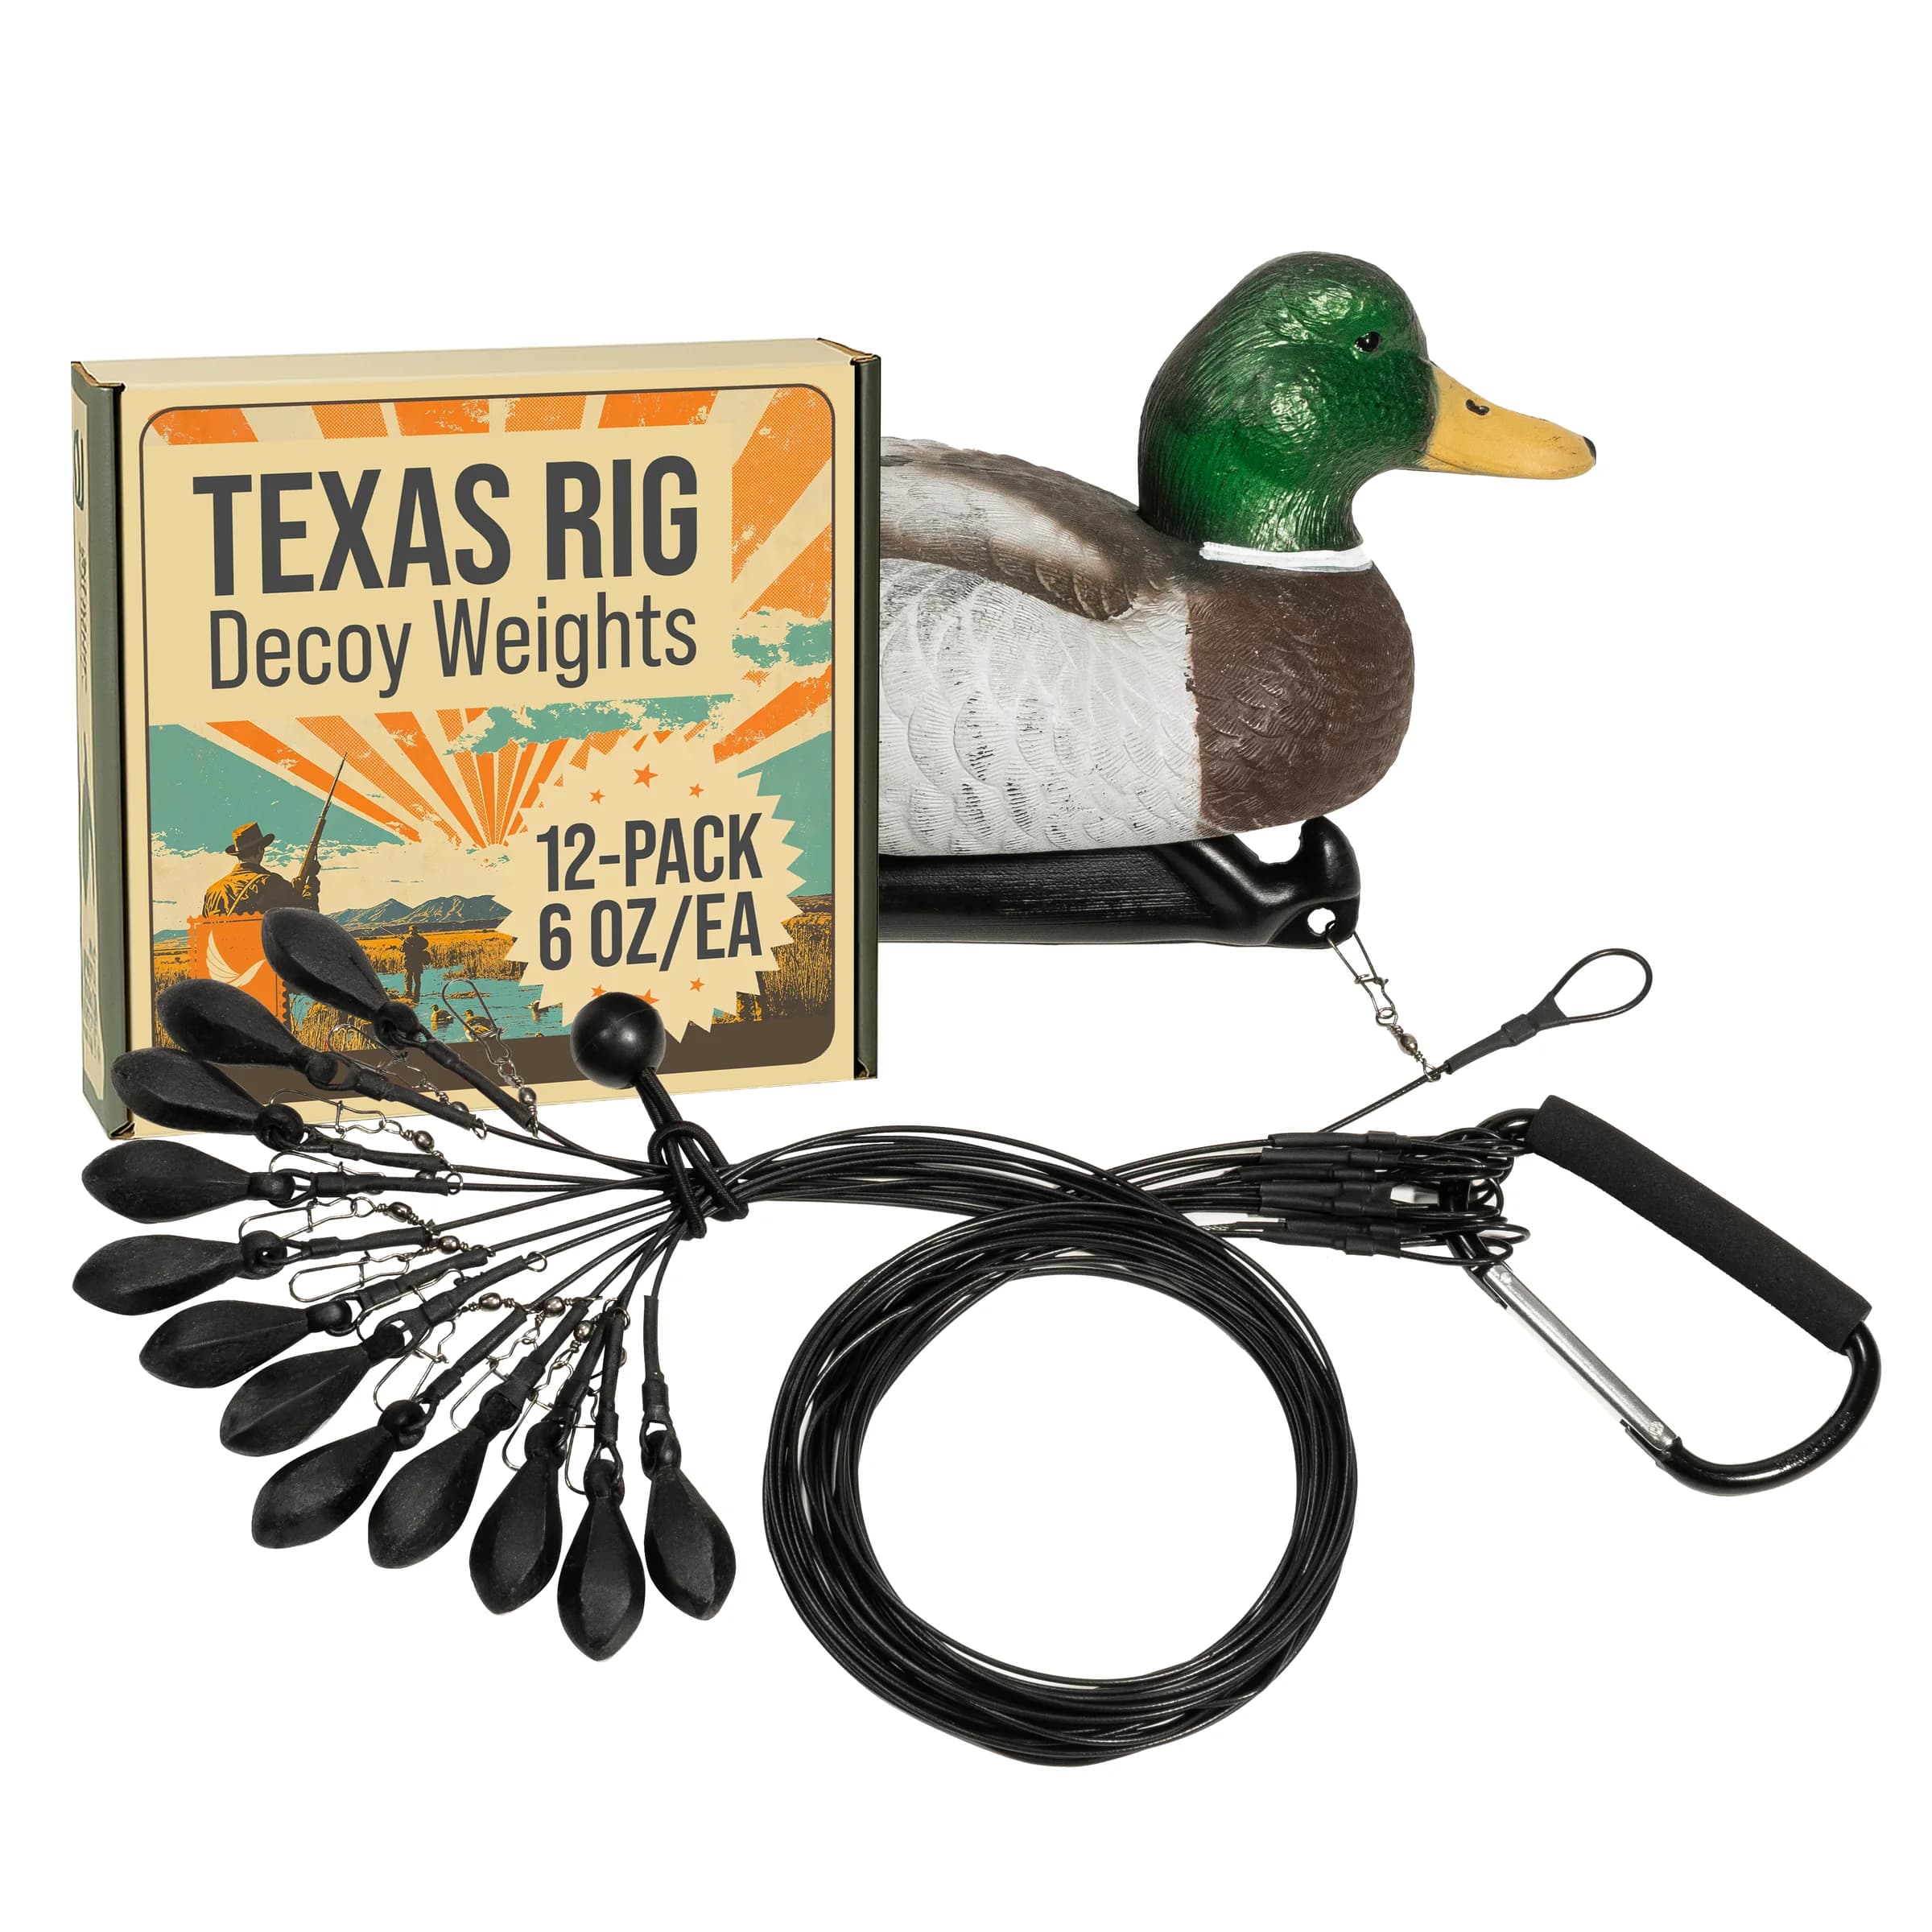
The Lirben 6 oz Texas rig 12-pack provides 48-inch PVC-coated steel cable, stainless swivels, aluminum crimps, a cushioned carabiner and a bungee ball. It is a complete pre-rigged option for a plan that matches those specifications. Decoys are not included.
Choose another configuration if you need longer line, different anchors or a shared main line. Shortening, extending or rebuilding a purchased kit changes its specifications. Ask the maker before modifying it. The rig-system comparison can help if you are still deciding between individual rigs and a longline.
What should you check before the first hunt?
Check every rig's line, sleeve and attachment. Confirm that the connection fits the keel or eyelet and closes as intended. Organize the finished rigs by length and anchor type so you can identify them without guessing.
Keep component instructions with your spare parts. A replacement sleeve that looks similar may not fit. Separate damaged rigs for repair or replacement before you pack the spread.
Use the attachment guide for the keel connection and the maintenance checklist for the ongoing inspection routine. The cost decision is finished only when you have the suitable, complete equipment you intended to build or buy.
Then follow the complete Texas rig setup guide for deployment and the storage guide for pickup and transport. Good preparation includes knowing how you will put the rig away.
For your next setup
Lirben Texas Rig Decoy Weights - 6 oz (12-Pack)
Twelve individual rigs. Choose the fit for your water.