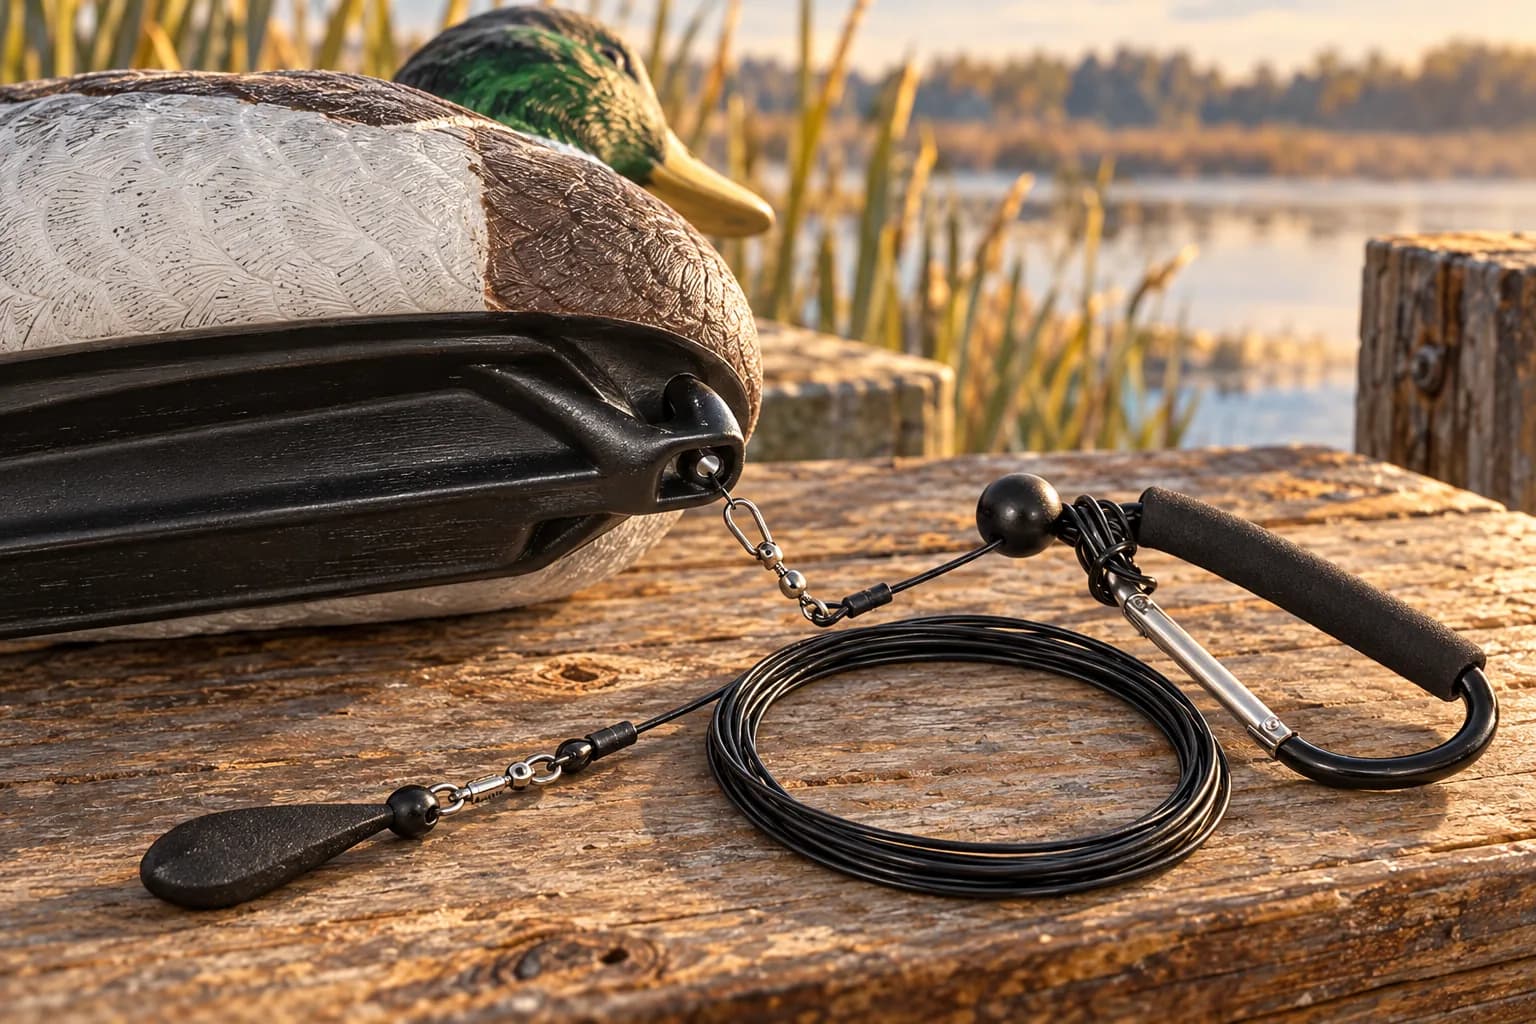
Attach a decoy weight through the decoy maker's intended keel hole or eyelet using the rig's specified clip, loop or tied-line method. Identify that method before opening hardware or threading line. Check the finished closure and usable reach, then confirm that the decoy floats freely with its anchor on the bottom.
Lead image: AI-generated editorial illustration based on Lirben product photos. Refer to the product listing and supplied instructions for exact appearance, connection and contents.
First distinguish attachment from carrying hardware
The small terminal fitting connects a rig to a decoy. A swivel allows rotation. A snap opens to make a connection. A closed loop may be part of a different attachment design, a sliding arrangement or the carrying method. The large carabiner that gathers several rigs has a different job.
Keel hole or eyelet
- What to identify
- The decoy maker's intended connection point
- What to check
- Damage, sharp edges and room for the specified fitting
Snap or clip
- What to identify
- The part designed to open and close
- What to check
- Full engagement and no line trapped in its latch
Swivel
- What to identify
- The rotating part of the connection
- What to check
- Freedom to move without binding against the keel
Finished loop
- What to identify
- Its role in that particular rig design
- What to check
- The correct path and no forced sharp cable bend
Carabiner and storage bungee
- What to identify
- The supplied transport or storage arrangement
- What to check
- Use for the listed purpose, not an assumed terminal or safety connection
| Feature | What to identify | What to check |
|---|---|---|
| Keel hole or eyelet | The decoy maker's intended connection point | Damage, sharp edges and room for the specified fitting |
| Snap or clip | The part designed to open and close | Full engagement and no line trapped in its latch |
| Swivel | The rotating part of the connection | Freedom to move without binding against the keel |
| Finished loop | Its role in that particular rig design | The correct path and no forced sharp cable bend |
| Carabiner and storage bungee | The supplied transport or storage arrangement | Use for the listed purpose, not an assumed terminal or safety connection |
Ducks Unlimited's rigging overview describes both line fastened through keel holes and clip-based systems. Its older Texas-rig example forms a monofilament loop through the keel during assembly. That does not mean every finished cable loop should be passed through the same way.
Attach one decoy before rigging the whole spread
Step 1
Identify and inspect the attachment point
Find the decoy maker's intended eyelet and inspect it for cracks, sharp edges and damage.
Work on a stable surface in daylight with the rig unloaded. Locate the eyelet or keel opening named in the decoy's instructions. Look closely for a split, worn edge, deformation or material that could cut the line. Check the anchor's connection too.
Some decoys provide more than one opening. Use the intended point for your system and planned orientation. A hole at the front and a hole at the rear are not automatic approval for every clip or line path. Identify the model before copying the connection from another decoy.
Step 2
Identify the rig's terminal connection
Separate the decoy attachment from carrying hardware and follow the connection method for that particular rig.
Trace the finished rig from its anchor to the decoy end. Find the connector that is meant to open, if there is one. Keep the large carrying loop and carabiner separate from that identification. Do not open a crimp, cut cable or pry a closed fitting apart to make an unknown arrangement fit.
If the design uses a loop attachment, follow that rig's specified routing. If it calls for a tied connection, confirm that the line material and knot are appropriate. Coated steel cable is not interchangeable with soft decoy cord.
The line and hardware guide explains sleeves and materials. The fixed and sliding rig guide explains why a connection may move on one design but remain fixed on another.
Step 3
Connect and check the closure
Fit the specified connector without forcing it, then check its closure, routing and freedom of movement.
For a compatible snap connection, open its intended latch, pass the fitting through the approved eyelet and close it completely. Make sure the latch is actually engaged and no cable, vegetation or edge of the keel is holding it partly open.
Move the connected fitting through its normal travel while unloaded. It should not be wedged or forced against the eyelet. For a loop-based design, check the specified loop path instead. Gently check for an obvious incomplete connection, while recognizing that a hand check is not a strength certification.
If the fitting cannot pass without force or cannot close fully, stop. Use a compatible connector or seek the maker's advice. Drilling a larger hole, crushing a snap closed or adding an unknown link changes the assembly and can conceal the original fit problem.
Step 4
Check the complete rig in place
Confirm usable line reach and observe the decoy floating with the anchor settled at a suitable placement.
Measure the usable reach of the completed assembly. Choose a safe, suitable placement where the anchor can reach bottom with room for the decoy to float. Keep the line clear and watch the decoy settle before committing the rest of the spread.
Look for a level floating posture, a clear connection and no progressive drift. Recover the decoy safely if the front is pulled low, the fitting catches or the line becomes taut. Correct the observed cause before repeating the check.
Use the line-length guide for reach and the weight-selection guide for anchor choice. A strong-looking clip cannot make an undersized or too-short assembly suitable for the water.
What does the Lirben connection look like?
The product photos and official video on the Lirben 6 oz 12-pack page show a small silver snap/swivel at the decoy's keel. The large cushioned carabiner gathers carrying loops. Those are separate pieces with separate roles.
Match the actual kit in your hands to its supplied instructions. The kit's 48-inch PVC-coated steel cable and stainless swivel specification do not establish that every brand's eyelet fits. Nor does the cable length promise a four-foot working depth. Lirben lists it as a shallow-water option up to 3 ft, subject to the placement and conditions.
If a supplied connection is unclear or appears defective, contact Lirben before modifying it. Include the decoy model and clear photos of the whole rig, connector and eyelet. That helps distinguish a fit problem from an affected rig component.
Common questions
Should I attach at the front or back of the keel?
Follow the decoy and rig makers' intended connection for the model and use. The attachment location can affect how the decoy sits and turns. A front or rear opening on one model is not a universal instruction for another.
Can I use the same method on goose floaters?
Inspect the actual model, connection and complete rig. A larger floater can present different demands even when a clip fits. Use the goose-decoy compatibility guide before assuming a duck setup suits every floating goose decoy.
Should I tie a knot in the carrying loop?
Use the stated transport method for that material. A storage knot approved for heavy monofilament or another maker's cable is not automatically appropriate for this rig. The storage guide covers grouping without forcing sharp bends.
What if the clip closes but the decoy still tips?
Check the whole assembly. Short reach, a caught line, the attachment path and the decoy body can all need inspection. The symptom-led troubleshooting guide helps you choose the next check instead of immediately adding weight.
Sources and limits
The Ducks Unlimited sources demonstrate different connection designs. The Lirben product media supports the distinction between its small keel connector and large carrying carabiner. This guide does not specify an unverified sleeve size, knot, crimping force or cross-brand fit list. Return to the complete rigging guide for deployment after the attachment is sound.
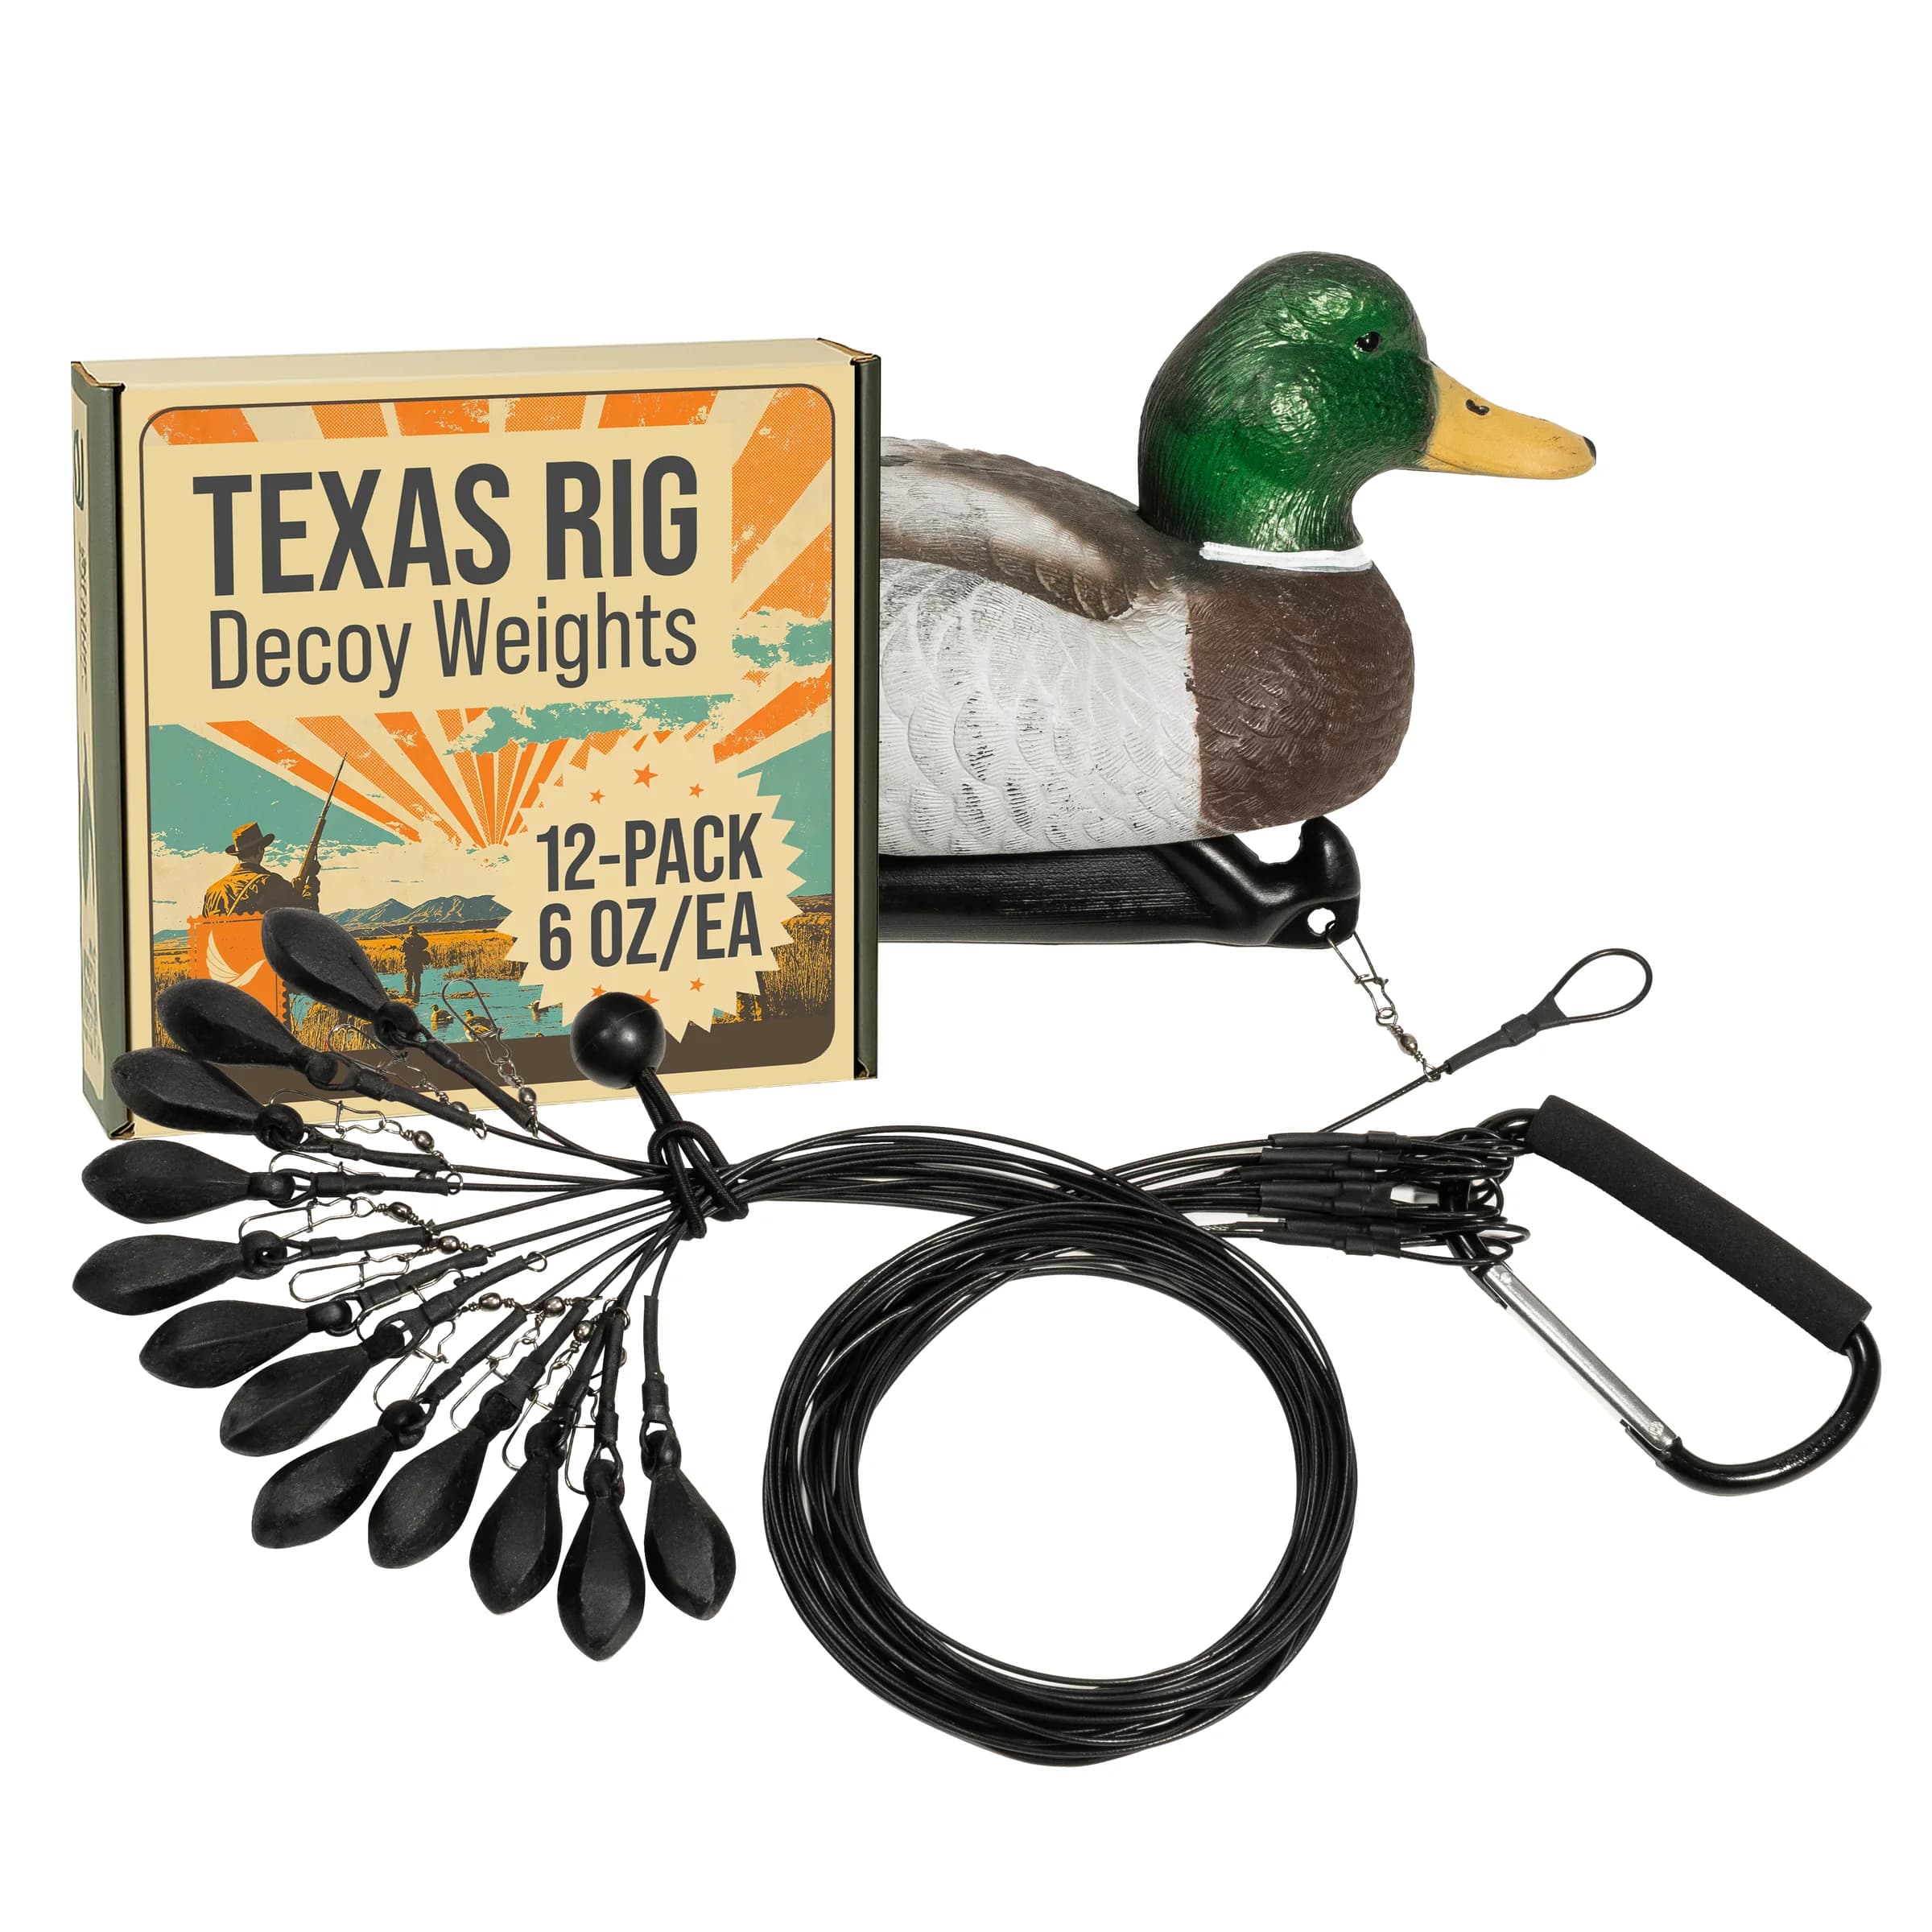
For your next setup
Lirben Texas Rig Decoy Weights - 6 oz (12-Pack)
Twelve individual rigs. Choose the fit for your water.