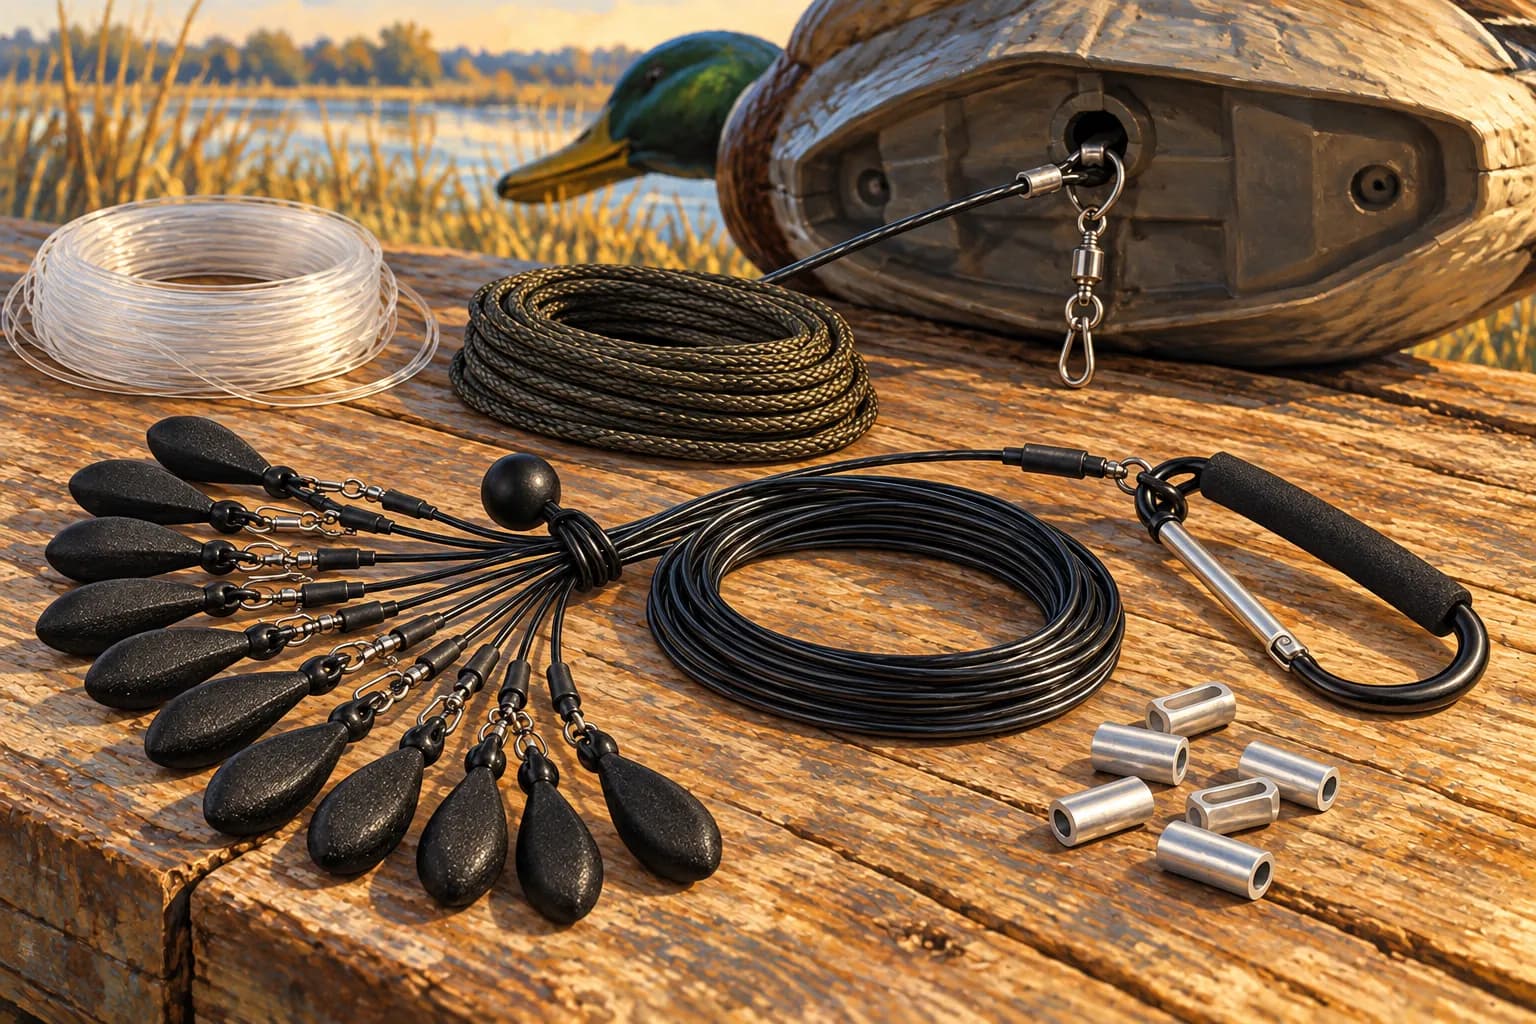
The best line for a Texas rig is one that suits its connections, handling routine and planned water depth. Coated steel cable, heavy monofilament and decoy cord are different materials. Choose the complete assembly first, then match sleeves, swivels and attachment points to that material and the maker's instructions.
Lead image: AI-generated editorial illustration based on Lirben product photos. Refer to the product listing for exact appearance and supplied contents.
Is PVC decoy line the same as PVC-coated steel cable?
PVC describes a plastic material. In PVC-coated steel cable, that plastic surrounds a steel core. A listing for PVC decoy line may describe another construction. Read the material and diameter specifications instead of treating the names as interchangeable.
The Lirben pre-rigged kit uses 48-inch PVC-coated steel cable with stainless swivels and aluminum crimps. That specification does not establish a universal sleeve size or approve replacement parts from another rig.
Ducks Unlimited's component overview identifies abrasion resistance and water exposure as line-selection concerns and describes commercial decoy cord, heavy monofilament, swivels and crimps. Use that overview to understand the parts. Follow the instructions supplied with your particular components for assembly.
Coated steel cable
- What to confirm
- Core and coated diameter
- Handling check
- Damaged coating or sharp kinks
Heavy monofilament
- What to confirm
- Diameter and connection method
- Handling check
- Nicks and troublesome coils
Decoy cord
- What to confirm
- Material and approved knot or fitting
- Handling check
- Fraying and abrasion
| Feature | What to confirm | Handling check |
|---|---|---|
| Coated steel cable | Core and coated diameter | Damaged coating or sharp kinks |
| Heavy monofilament | Diameter and connection method | Nicks and troublesome coils |
| Decoy cord | Material and approved knot or fitting | Fraying and abrasion |
This is a selection checklist, not a durability ranking. The material name alone does not tell you how long a rig will last or whether a particular connection will hold.
Know which piece does which job
Hardware names describe different functions. A component that rotates is not necessarily designed to open, and a carrying connection is not the same as the small fitting at the decoy.
Snap or clip
- Job in the rig
- Opens to make a connection
- Compatibility question
- Does it fit the intended eyelet and latch completely?
Swivel
- Job in the rig
- Allows rotation at a connection
- Compatibility question
- Can it move without binding against the keel or another fitting?
Crimp or sleeve
- Job in the rig
- Secures line in a specified assembly
- Compatibility question
- Does its material, size and compression method match the actual line?
Stopper
- Job in the rig
- Limits travel in a design that uses a moving part
- Compatibility question
- Is it part of the maker's design and in the intended position?
Keel hole or eyelet
- Job in the rig
- Provides the decoy's intended attachment point
- Compatibility question
- Is the point sound and approved for this connector?
Finished loop
- Job in the rig
- May provide a terminal or carrying connection, depending on the design
- Compatibility question
- Which role and routing does this particular loop have?
Carrying carabiner
- Job in the rig
- Gathers intended loops for transport
- Compatibility question
- Is the gate clear, and is it being used only for its supplied purpose?
| Feature | Job in the rig | Compatibility question |
|---|---|---|
| Snap or clip | Opens to make a connection | Does it fit the intended eyelet and latch completely? |
| Swivel | Allows rotation at a connection | Can it move without binding against the keel or another fitting? |
| Crimp or sleeve | Secures line in a specified assembly | Does its material, size and compression method match the actual line? |
| Stopper | Limits travel in a design that uses a moving part | Is it part of the maker's design and in the intended position? |
| Keel hole or eyelet | Provides the decoy's intended attachment point | Is the point sound and approved for this connector? |
| Finished loop | May provide a terminal or carrying connection, depending on the design | Which role and routing does this particular loop have? |
| Carrying carabiner | Gathers intended loops for transport | Is the gate clear, and is it being used only for its supplied purpose? |
A combined snap swivel opens and rotates. That does not make every snap swivel interchangeable. Compare the actual opening, closure and movement, along with the specifications, before choosing a replacement.
The Lirben product media shows a small silver snap/swivel at the decoy keel and a separate large cushioned carabiner for carrying. The attachment guide explains how to distinguish them and check the completed connection. Do not treat a large carrying loop as a universal keel-attachment instruction.
Check components as one rig
Step 1
Identify the material and dimensions
Confirm what the line is made from and use the component maker's size specifications.
Keep the original packaging or record the line's material and size. A breaking-strength label does not tell you the diameter, and a diameter alone does not identify the core or coating. You need the maker's compatibility information before choosing a sleeve or tool.
Measure finished reach too. Line used in loops and connections is not available to span the water. If you are planning a new length, start with the decoy line-length guide. More cable does not turn a short rig into a suitable deep-water system unless the whole design fits.
Step 2
Match the line to its connections
Check the crimp, swivel, loop and decoy attachment as a complete assembly.
Check the sleeve's specified material and size against the actual line. Use the specified tool and method. Do not transfer a monofilament crimp recipe to coated cable, substitute a knot on steel cable, or guess how hard to compress a sleeve.
Then check the decoy end. The loop or snap must fit the keel or eyelet without forcing the opening. Confirm that a clip closes fully and that the swivel can move. A familiar-looking fitting is not proof that it matches your rig.
Check what is intended to move. A fixed-weight and sliding-weight rig can put that movement in different places. A stopped or fixed part is not automatically seized; identify the design before trying to slide it or removing a stopper.
Step 3
Inspect the assembled rig
Look for damaged line and hardware before placing the rig back in service.
Work along the line with the rig unloaded. Look for cut coating, exposed or broken strands, frayed cord, deep nicks and sharp bends. Examine sleeves for movement, cracks or distortion, then check clips, swivel joints and the decoy attachment point.
Set suspect rigs aside. A hand check can reveal an obvious problem, but it cannot certify a repaired rig's strength. Replace the rig or use the component maker's repair procedure when you cannot establish compatibility.
What does a swivel change?
A swivel provides a rotating connection. A snap provides an opening connection. A combined snap swivel does both, but neither feature establishes the holding power of the anchor or the suitability of the line.
Work the actual connector with the gloves you expect to wear. Check whether you can open it deliberately, close it fully and see that it has latched. Cold hands are a poor time to discover that a snap is awkward. Keep the attachment clear of loose vegetation and inspect it again if the decoy catches on something.
Anchor selection is a separate decision. Use the weight-size guide to consider mass, shape and conditions rather than choosing a heavier anchor to compensate for damaged hardware.
Can you repair a pre-rigged kit?
A repair makes sense only when you know the specifications and have an approved method. Cutting away a damaged section changes finished length. Replacing a swivel may change whether the connection passes through the keel or moves along the line.
Use three decisions to sort an affected rig. Clear removable debris when the parts remain sound. Replace a damaged component only when you can establish the correct replacement and assembly procedure. Retire the complete assembly from use when the specifications, connection or remaining reach cannot be established. Do not keep a questionable rig in the working bundle while waiting for a replacement.
For a Lirben kit with a suspected defect, contact Lirben support before altering it. The product's two-year warranty covers replacement of defective items. Describe the problem and keep the affected assembly available for inspection.
Send the product and decoy model, purchase details, a photo of the whole assembly and close-ups of the affected area. Identify whether the issue is at a sleeve, snap, swivel, line section or eyelet. Those details are more useful than describing every connection as a broken clip.
If you want control over every component, compare DIY and pre-rigged rigs before buying parts. Start with a matched system rather than collecting hardware that merely looks similar.
Put the rig away ready for the next hunt
Remove trapped debris, check the connections and follow the material maker's cleaning instructions. Let wet equipment dry before enclosing it for storage. Keep loops organized and avoid crushing the line under heavy gear. The storage guide covers pickup and bundling in more detail.
For the whole clean/inspect/replace routine, use the maintenance guide. If the symptom appears only on the water, start with rig troubleshooting before choosing new parts.
Once you have a compatible, sound assembly, use the complete Texas rig guide for setup. If 48-inch coated cable, 6 oz anchors and a dozen completed rigs match your plan, review the Lirben kit specifications before choosing it.
For your next setup
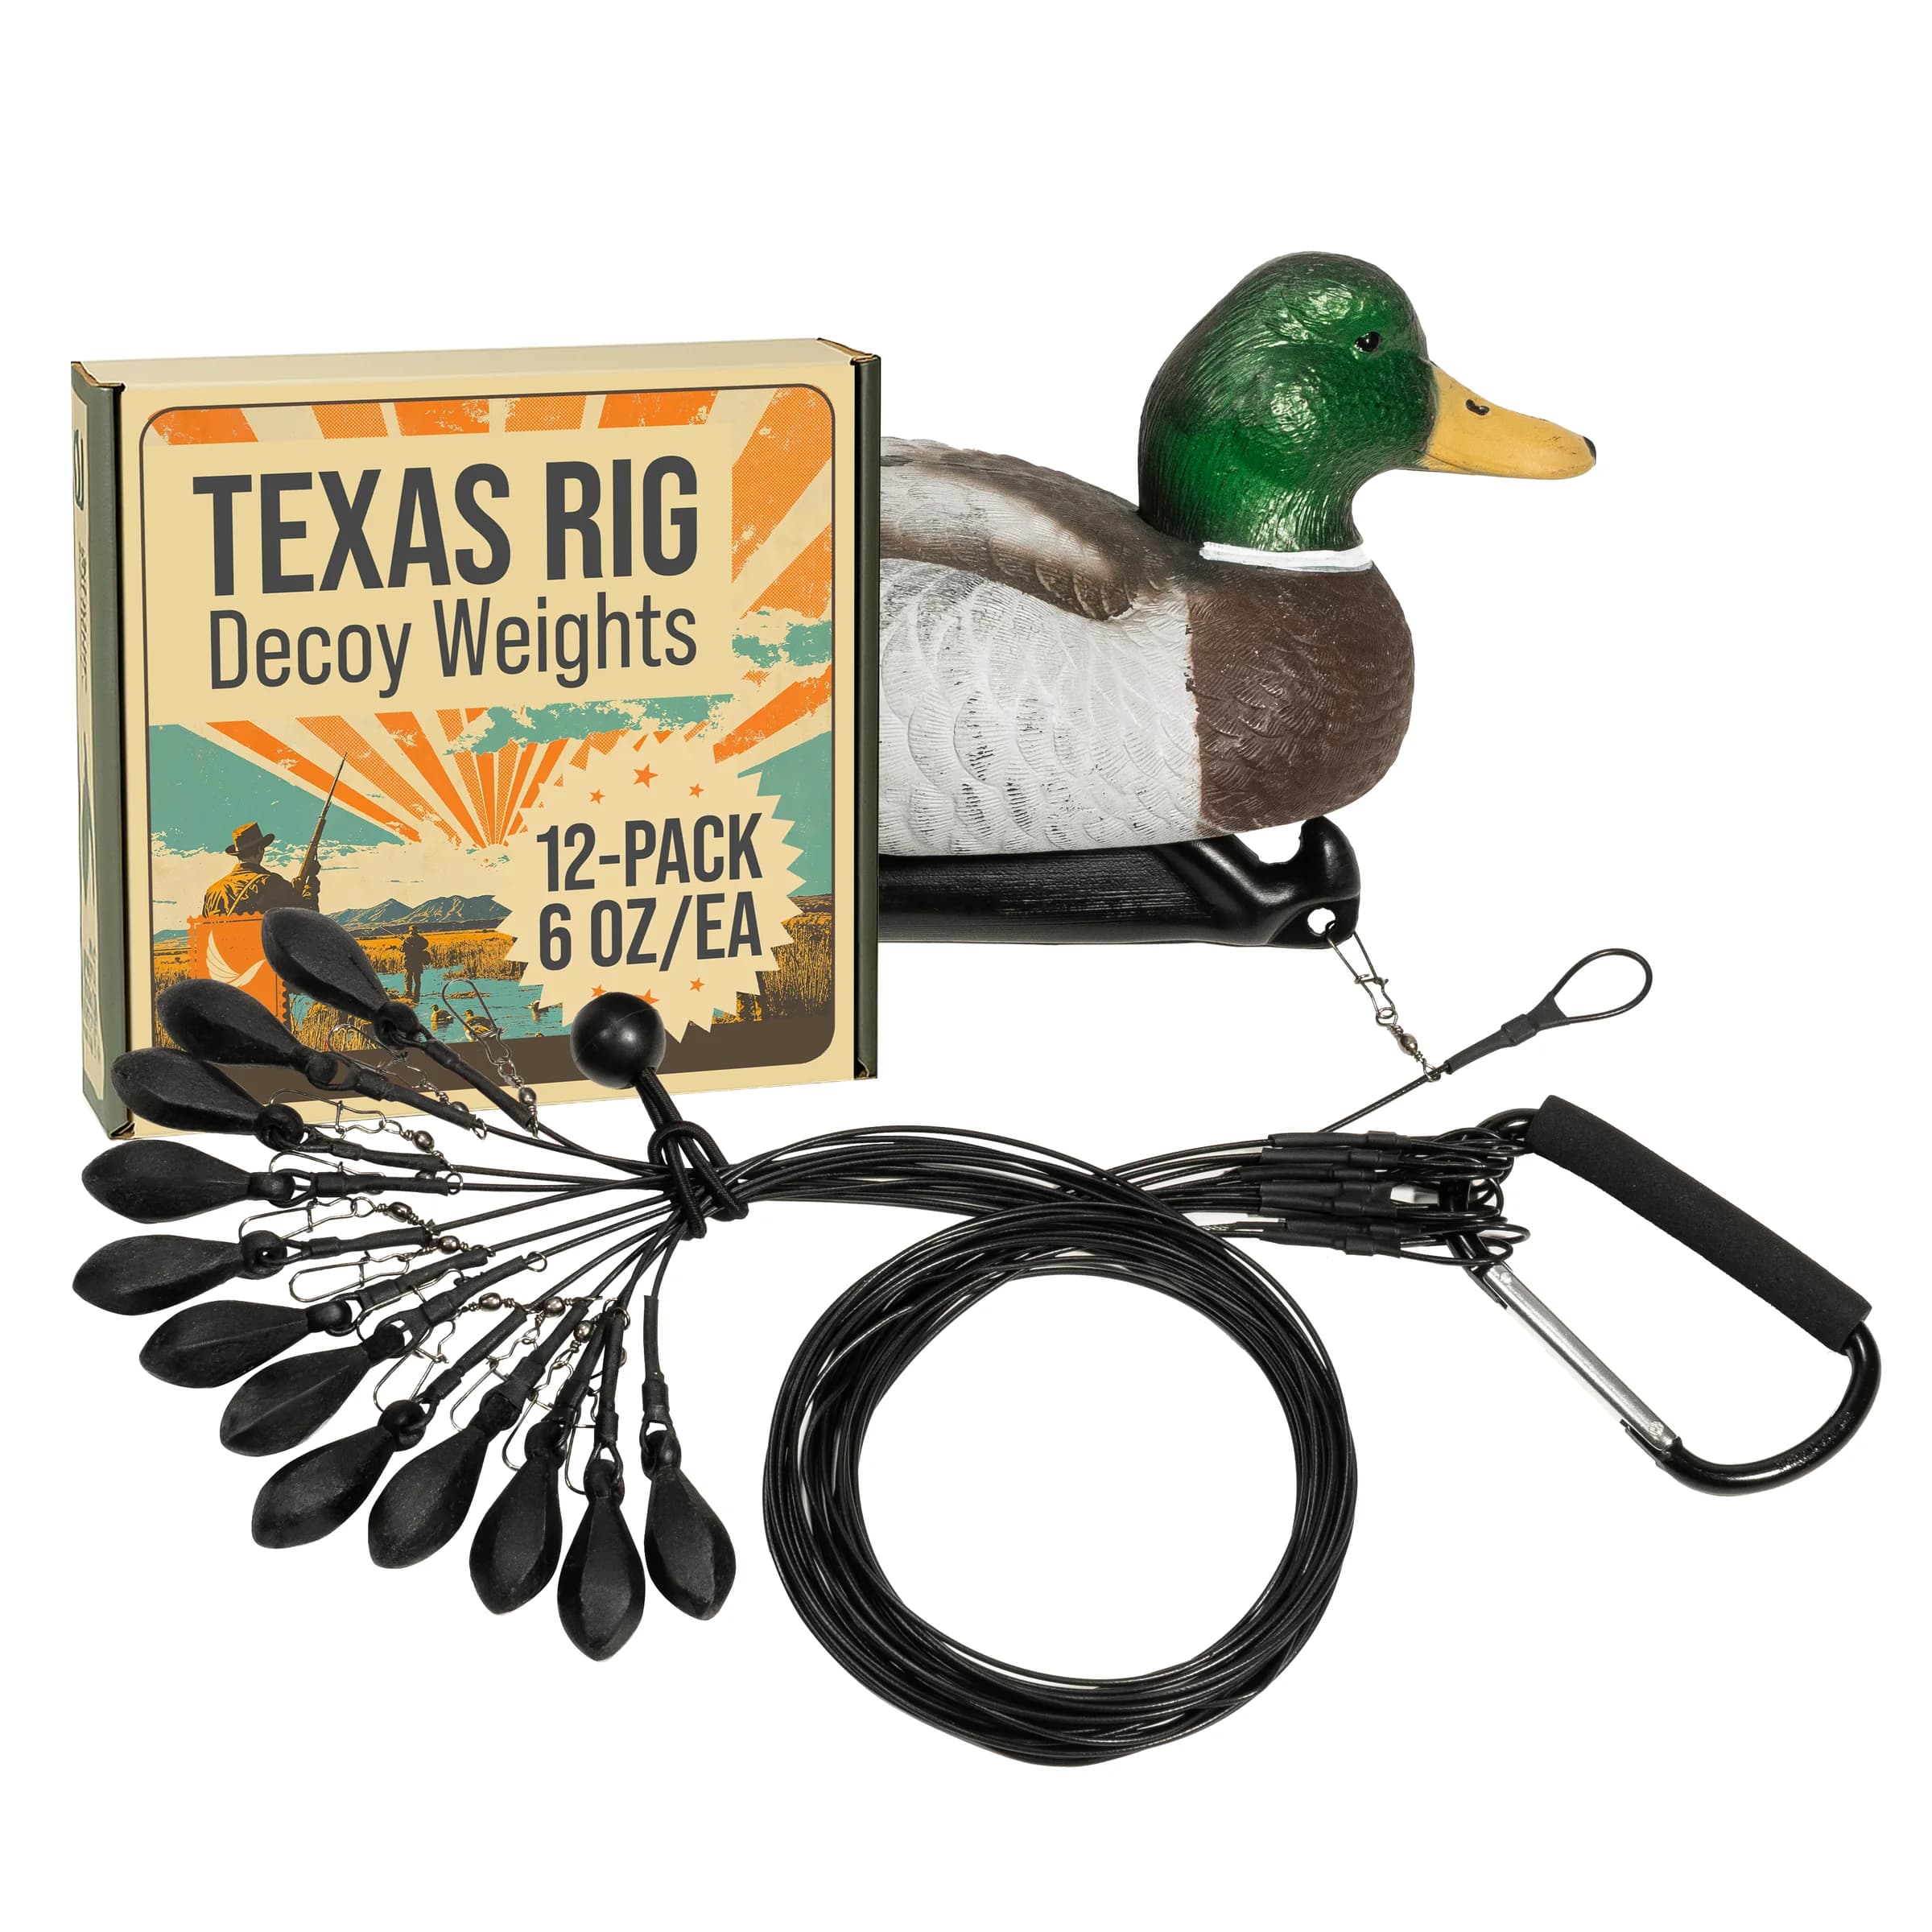
Lirben Texas Rig Decoy Weights - 6 oz (12-Pack)
Twelve individual rigs. Choose the fit for your water.