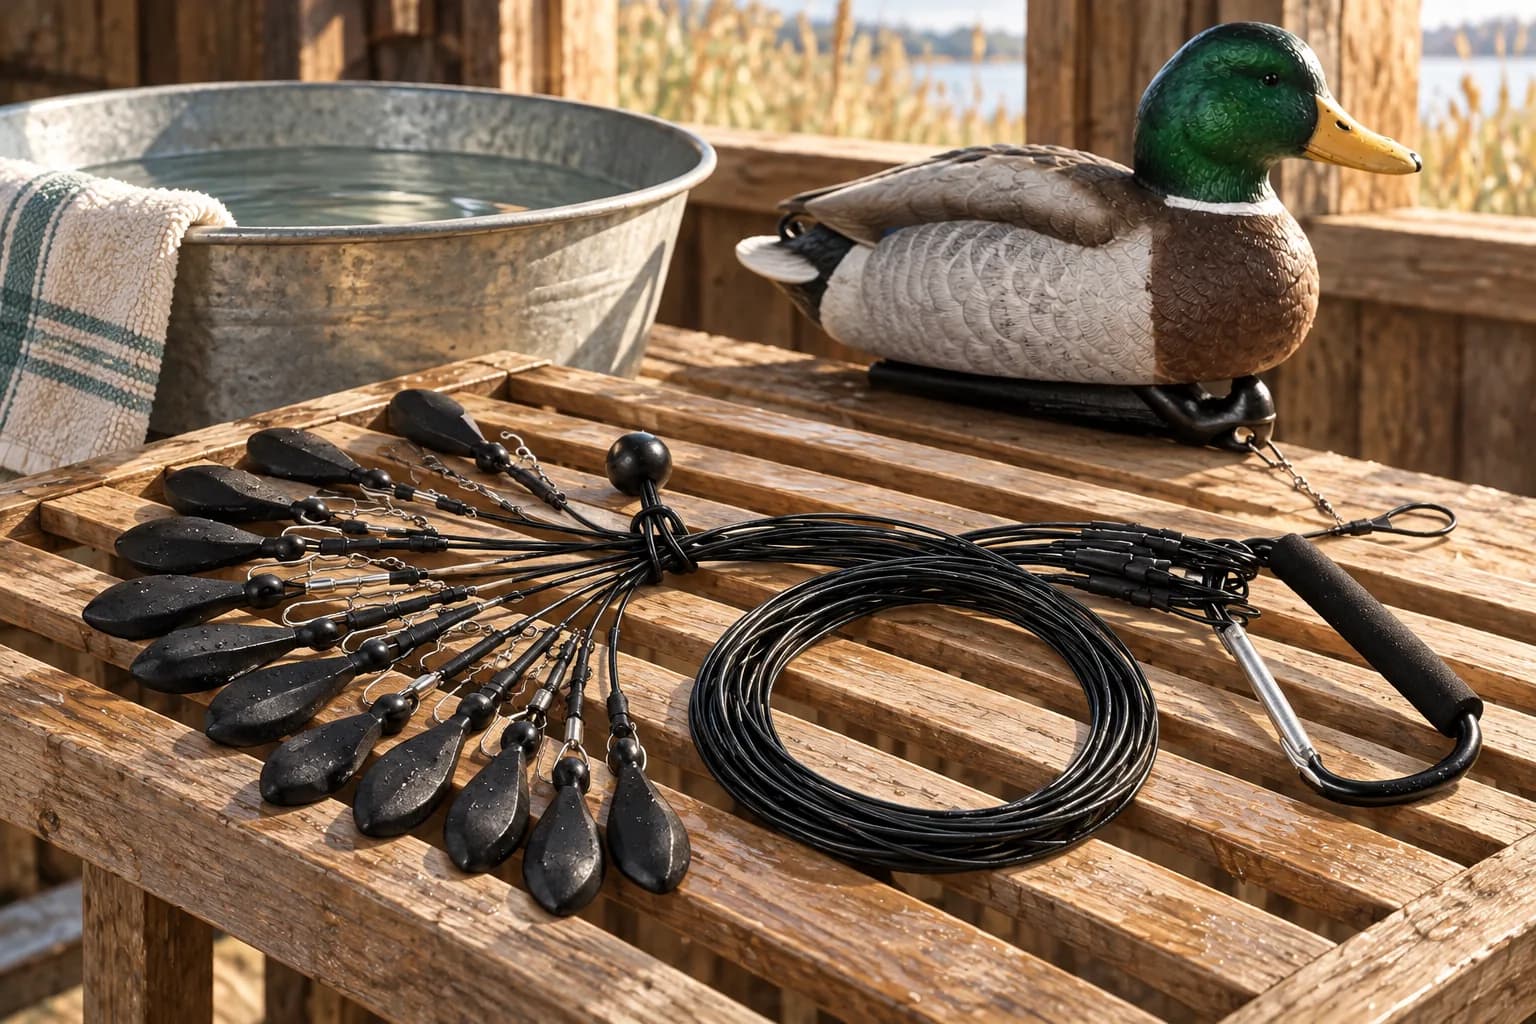
Maintain duck decoy rigs by removing aquatic material and draining equipment before leaving the water, cleaning within the maker's material limits, drying before enclosed storage and inspecting the whole assembly. Keep damaged or uncertain rigs separate. A clean-looking cable is not proof that its sleeve, swivel and decoy connection are sound.
Lead image: AI-generated editorial illustration based on Lirben product photos. It illustrates care and inspection, not a documented cleaning test or certification.
Cleanliness and serviceability are different checks
Cleaning removes contamination and lets you see the equipment. Inspection determines whether it should go back into the working set. A rig can be free of mud but still have a moved sleeve, a damaged latch or a cut in its coating.
The U.S. Fish and Wildlife Service's Clean, Drain, Dry guidance addresses equipment that can transport aquatic invasive species. It also tells users to consider equipment compatibility when choosing a treatment. A maintenance routine must meet the applicable local requirements while respecting the materials in the gear.
A post-hunt maintenance routine
Step 1
Remove aquatic material and drain at access
Inspect decoys, lines, anchors and the rest of the equipment before leaving the waterbody, following local requirements.
Before leaving, check the anchors, lines, loops and decoys for plants, animals, mud and trapped water. Inspect bag pockets and the equipment used to carry or retrieve the spread too. Remove visible aquatic material and drain water-containing equipment by the applicable local instructions.
Do not put a visibly fouled anchor back into a clean spare bundle. Keep the recovered group organized while preparing it for transport. The storage guide covers untangling and separating a wet return load from the dry departure equipment.
North Dakota Game and Fish's 2026 waterfowl reminder specifically addresses plants and fragments on decoys, strings and anchors, as well as water in equipment. Its stated requirements apply to that jurisdiction. Check the current instructions for the waterbody and destination you will use.
Step 2
Use a compatible cleaning method
Clean the rig according to the maker's material limits and any applicable decontamination requirements.
Use the gear maker's instructions to choose the rinse or cleaning method for the line, coating, fittings and decoy body. Work around sleeves, swivel joints and eyelets where debris can remain. Clean only in a suitable place and follow the relevant disposal or decontamination directions.
Use gentle, compatible cleaning tools to lift mud and loose debris rather than forcing grit into a swivel or scraping away sound coating. A soft brush is an option only where the maker permits it for that surface.
Do not assume that a method approved for a boat hull, hard plastic decoy or another company's cable is suitable for every part of this rig. Resolve any conflict between material limits and required treatment with the maker or relevant local authority before taking the gear to another waterbody.
Step 3
Dry before enclosed storage
Open pockets and separate line groups so cleaned gear can dry before being closed away.
Open the carrying bag and its pockets. Separate clean line groups and arrange them without tight bends so retained water can drain and the gear can dry. Keep wet equipment out of closed long-term storage.
Check the bag and carrying accessories along with the rigs. A dry decoy body placed back in a wet pocket is not a fully dry stored set. Follow any required drying interval or inspection process for the destination rather than assigning one universal time from this checklist.
Step 4
Inspect the complete assembly
Check the anchor, line, sleeves, connector, swivel and decoy attachment, then isolate damage or uncertainty.
Once the parts are visible, trace every rig from anchor to decoy attachment. Look at the line, both sides of each sleeve, rotating joints and the connector closure. Inspect the keel or eyelet too. Keep the assembly unloaded while checking its parts.
Clear removable debris from otherwise sound equipment. Isolate a damaged or doubtful assembly. Replace a part only when its specification and approved assembly method are established; otherwise leave the complete rig out of use and seek support.
Cable or line
- Look for
- Cut coating, exposed or broken strands, sharp permanent kinks, fraying or deep nicks
- Decision
- Set damage aside; use a suitable replacement or approved repair method
Sleeves and terminal loops
- Look for
- Movement, cracks, distortion or a changed loop shape
- Decision
- Keep a doubtful connection out of the working set
Snap and swivel
- Look for
- Incomplete closure, bent latch, trapped material or a joint that should move but will not
- Decision
- Identify the cause; replace damaged compatible parts rather than forcing them
Decoy attachment
- Look for
- Cracked or worn eyelet, sharp edge, damaged keel or caught fitting
- Decision
- Resolve the decoy or connection problem before redeploying
Carrying hardware
- Look for
- Obstructed gate, damaged bungee or line caught in the closure
- Decision
- Use a sound carrying arrangement for the equipment's intended purpose
| Feature | Look for | Decision |
|---|---|---|
| Cable or line | Cut coating, exposed or broken strands, sharp permanent kinks, fraying or deep nicks | Set damage aside; use a suitable replacement or approved repair method |
| Sleeves and terminal loops | Movement, cracks, distortion or a changed loop shape | Keep a doubtful connection out of the working set |
| Snap and swivel | Incomplete closure, bent latch, trapped material or a joint that should move but will not | Identify the cause; replace damaged compatible parts rather than forcing them |
| Decoy attachment | Cracked or worn eyelet, sharp edge, damaged keel or caught fitting | Resolve the decoy or connection problem before redeploying |
| Carrying hardware | Obstructed gate, damaged bungee or line caught in the closure | Use a sound carrying arrangement for the equipment's intended purpose |
Use the hardware guide for component compatibility. A fixed part is not necessarily seized; the fixed and sliding mechanism guide explains how to identify intended movement before testing it.
Step 5
Record what is ready for use
Count sound complete rigs, identify their specifications and keep repair or replacement needs out of the working bundle.
Count complete sound rigs separately from parts and rejected assemblies. Note the length, anchor and any group assigned to a particular placement. Keep a simple record of the inspection date and what must be replaced or discussed with support.
Before the season or after long storage, repeat the inspection in daylight and check the decoy fit again. Organize the sound equipment using the ready-group storage checklist. A tag that says ready should refer to an inspected complete rig, not an unresolved repair.
After saltwater or brackish-water use
Check the maker's instructions before the outing so you know both whether the gear is suitable and what care it needs afterward. Look beyond the coated span of cable to exposed connections, the connector and any damaged coating.
HEYDAY's FAQ recommends a fresh-water rinse after saltwater use for its own decoys and rigs. That is an attributed maker example. It does not establish a saltwater rating or cleaning approval for Lirben or another product. Use the instructions for the actual assembly and seek guidance when a required care method is unclear.
After permitted cleaning and drying, inspect moving joints and sleeves before bundling. A rinse does not repair corrosion, a weakened fitting or damaged cable. Keep questionable equipment separate rather than covering the problem with a new storage wrap.
Plan for the whole tidal outing
Maintenance begins with deciding whether the rig will fit the conditions you will encounter. A set that suits the starting depth can become tight as water rises or lie differently as it falls. Plan the range of placements and a recovery route for the whole outing.
NOAA's tides and currents guide provides separate resources for water levels, tide predictions and currents. Tide height and current are different information. A station's reported height also does not directly tell you the depth beneath a particular decoy.
NOAA's explanation of tides and currents distinguishes rising and falling water level from water flowing through an area. Use the appropriate information for each check rather than treating a high-tide time as a current-speed reading.
Check suitable local observations and forecasts, measure the intended placements safely and reassess when conditions change. Leave room in the plan to recover before access deteriorates. Use line-length planning and moving-water anchoring checks for those decisions. Cleaning afterward cannot correct a depth or retrieval mismatch during the hunt.
Use a check for each part of the outing:
- Before setting, compare usable rig reach with the deepest placement expected while the spread is out. Check how both rising and falling water could affect the return route and access point.
- While the set is working, reassess line tension, free floating, anchor movement and debris as the water changes. Tide height alone does not tell you the current at that position.
- Before recovery, confirm that you can still reach and retrieve every planned group. Falling water can leave a different route from the one used to place the decoys; rising water can change depth and access too. Recover earlier or omit placements when the return cannot remain within the safe plan.
- After recovery, complete the local clean/drain/dry process and the equipment maker's post-exposure care. Isolate wear or damage before putting the group back into storage.
There is no safest tide phase prescribed here. Choose the outing around actual local information, access, equipment and skills rather than a generic high-tide or low-tide rule.
What should you inspect on the Lirben kit?
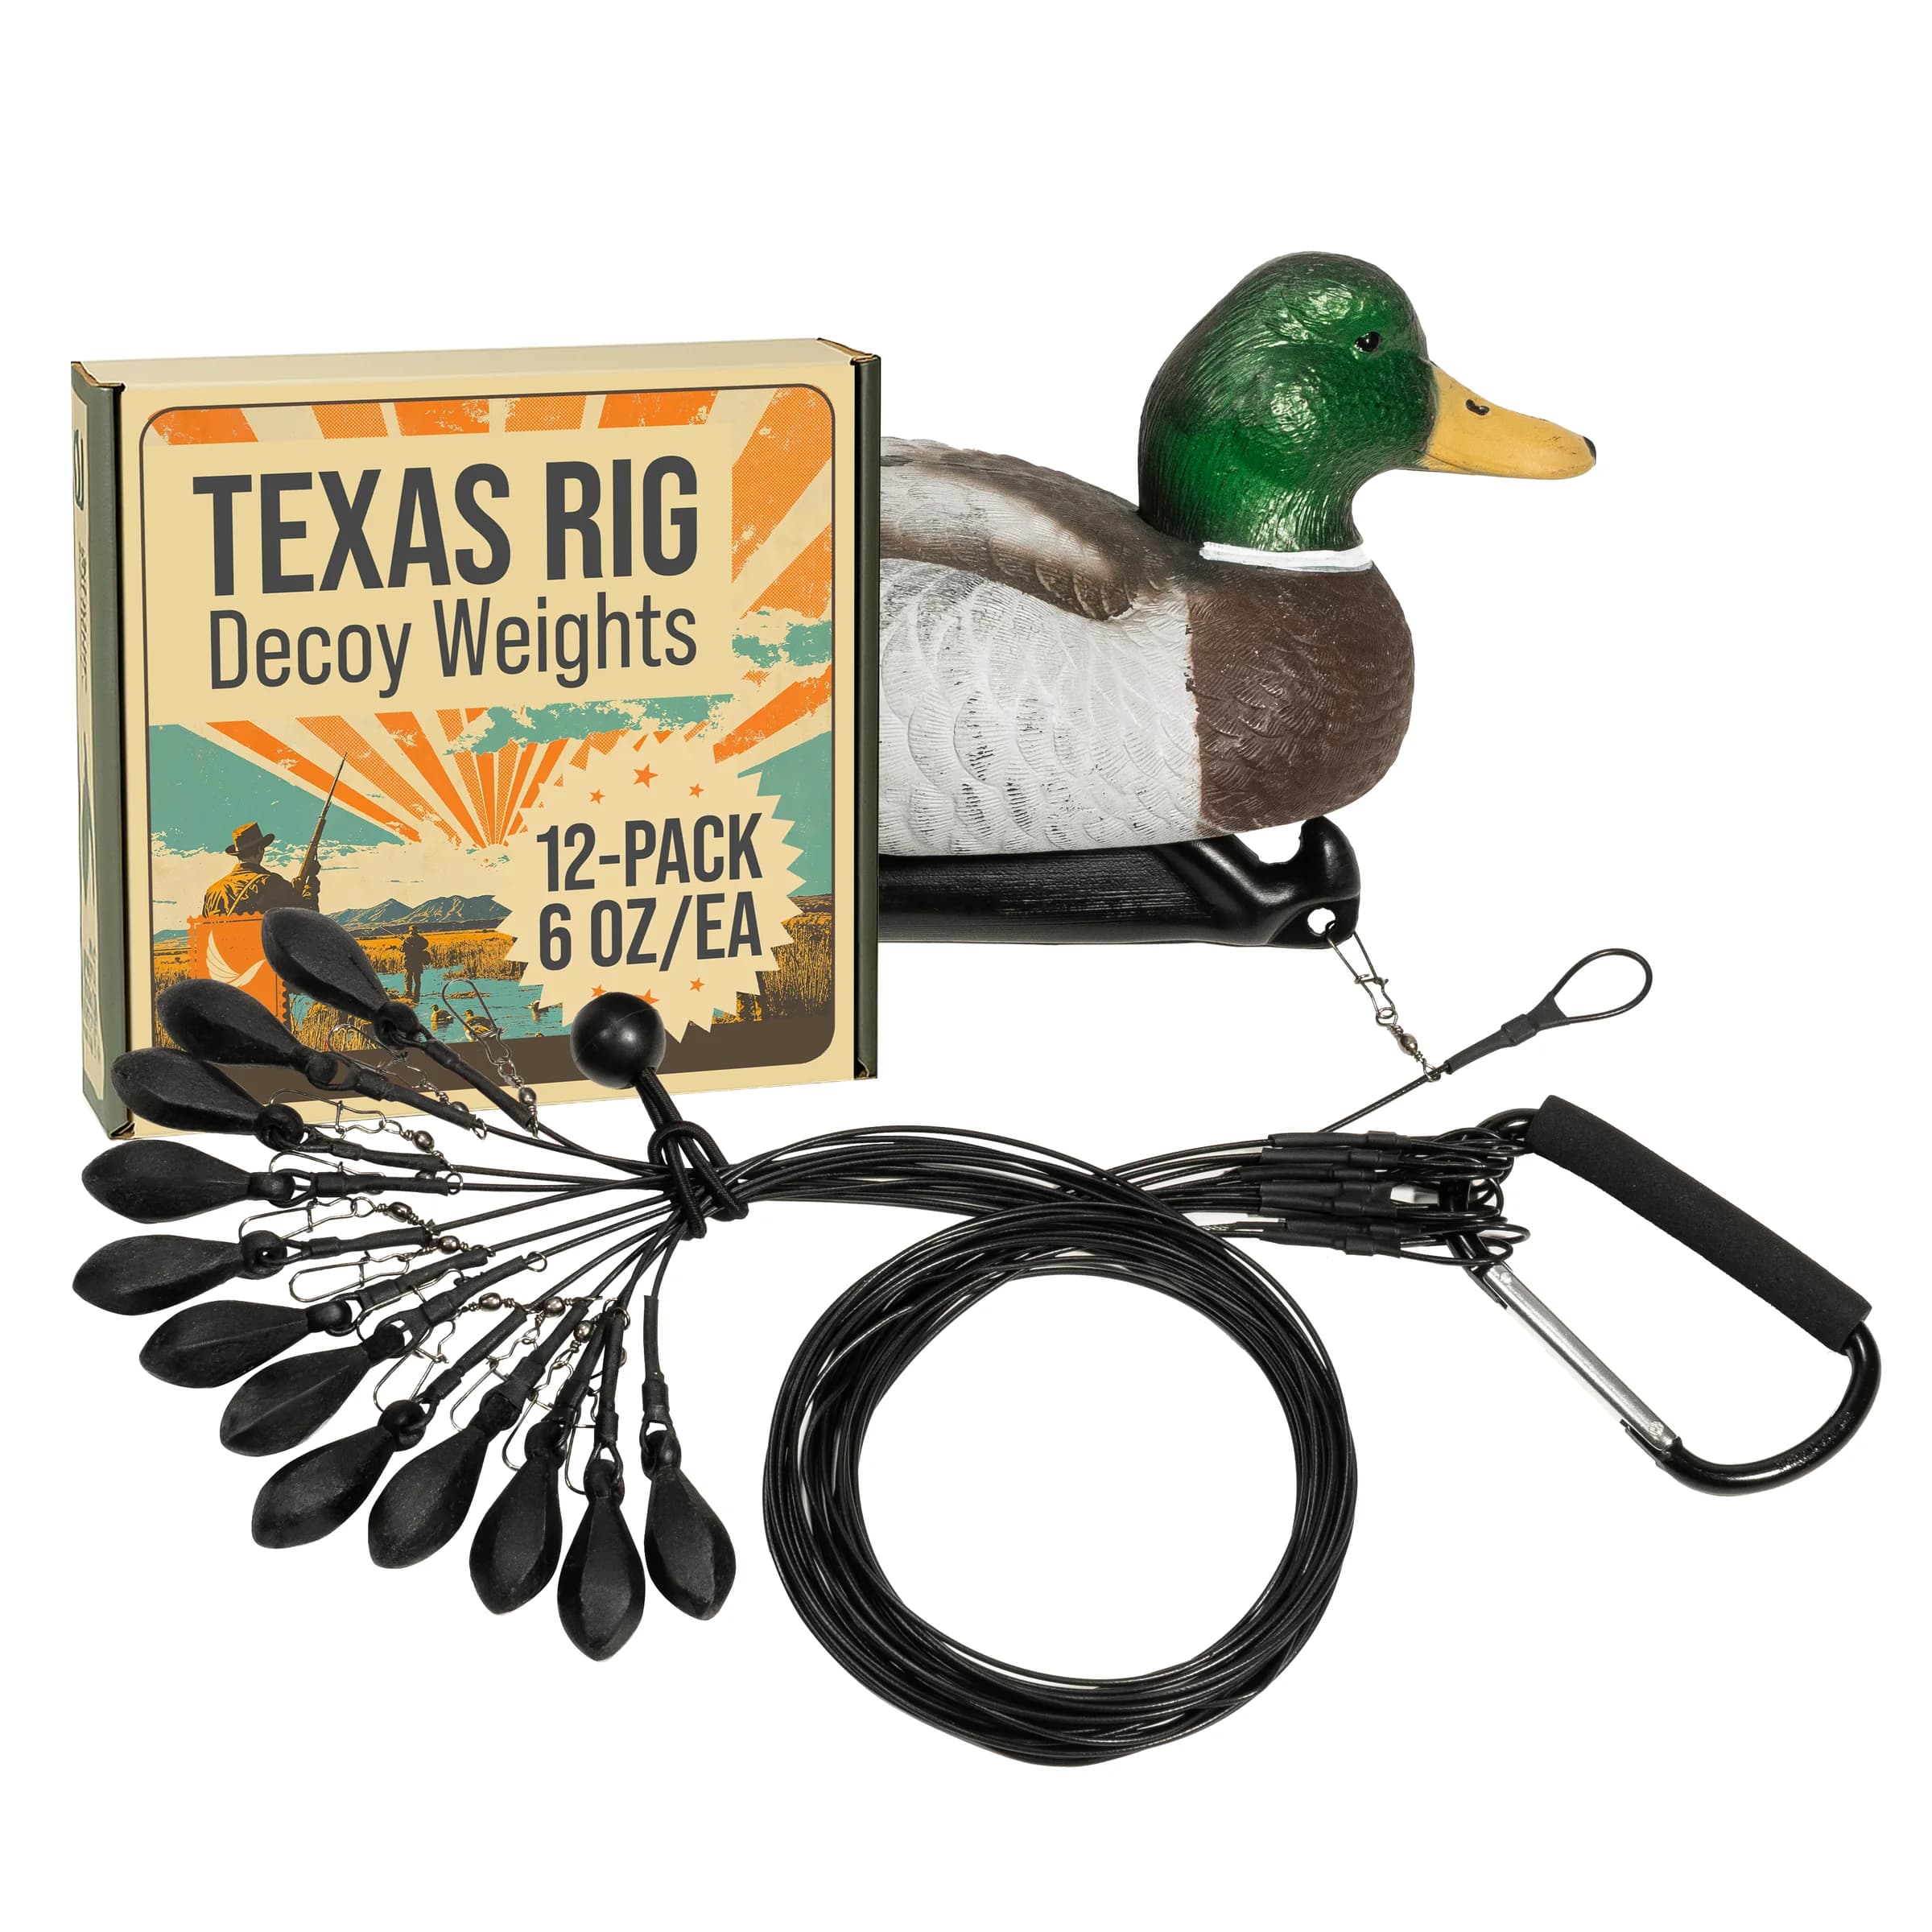
The Lirben 12-pack includes individual 6 oz anchors, 48-inch PVC-coated steel lines, stainless swivels, aluminum crimps, a cushioned carrying carabiner and a storage bungee ball. Inspect each of those parts and the actual decoy connection.
The small terminal snap/swivel and large carrying carabiner have separate roles. Use the attachment guide when identifying the keel connection. If you suspect a defective Lirben assembly, contact Lirben with the order, model and clear photographs before modifying it.
Common questions
Can I use hot water, disinfectant or a pressure washer?
Use a method compatible with the actual gear and required by the relevant local process. This guide gives no blanket approval for heat, chemicals or pressure on coated cable, fittings, paint or foam. Ask before substituting a treatment that could damage the material.
How often should I inspect the rigs?
Check them before use, after a snag or unexpected behavior, and during cleaning and pickup. Repeat the complete check after long storage. A specific number of seasons is not a service-life guarantee for the line or connections.
Does stainless hardware make the whole rig marine-rated?
The name of one material does not establish a saltwater rating for the whole assembly. Check the maker's stated use and care for the line, coating, sleeves and connectors together. Lirben's listed stainless swivels are a component specification, not proof of a universal marine-use approval.
What if the rig looks sound but the decoy still drifts or tips?
Use the symptom-led troubleshooting guide. Usable reach, anchor contact, an obstruction and a decoy-body issue need different responses. A clean rig can still be unsuitable for the placement.
Sources and limits
The linked federal and state guidance supports cleaning and between-water precautions; local requirements govern the destination. NOAA supports the distinction between water-level and current information. The part-by-part checklist organizes serviceability decisions and does not certify an unseen repair, corrosion resistance or an equipment lifespan.
For your next setup
Lirben Texas Rig Decoy Weights - 6 oz (12-Pack)
Twelve individual rigs. Choose the fit for your water.