Set a duck decoy spread by choosing the open landing space first, then placing manageable groups around it. Match the layout to the wind and shoreline, but also to the water you can safely reach and retrieve from. A recognizable J or horseshoe is a starting arrangement; it does not replace checking every anchor and line.
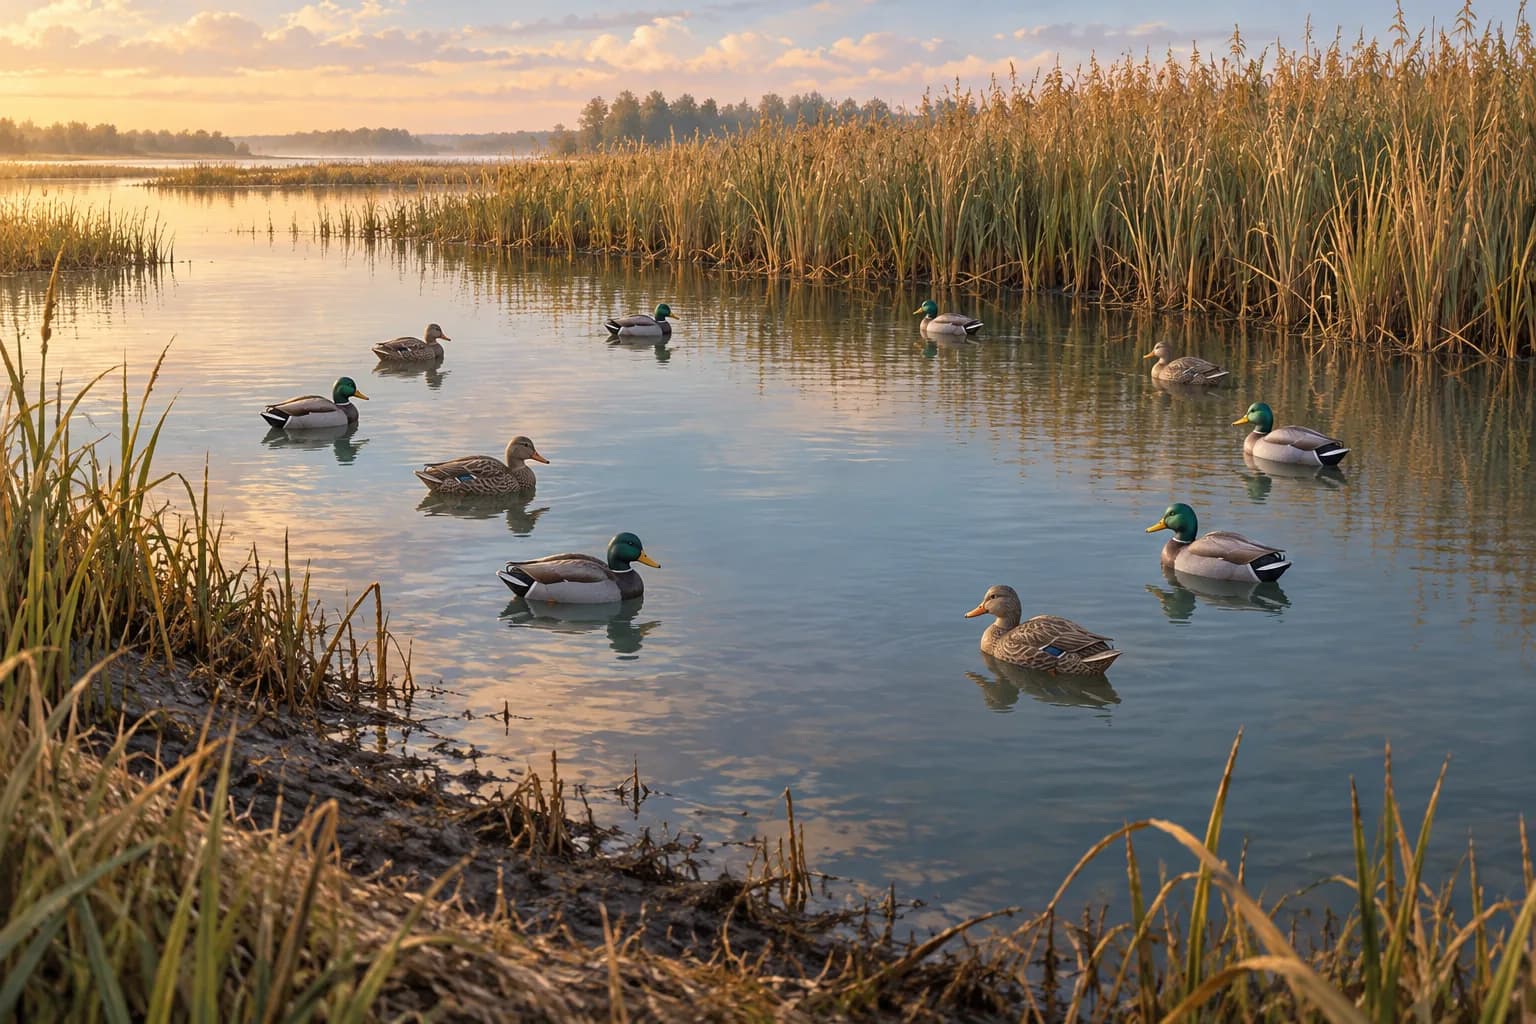
Lead image: AI-generated editorial illustration. It is not a measured layout diagram or evidence of a hunt.
Start with the landing space, access and wind
Texas Parks and Wildlife's decoy-setting lesson emphasizes leaving open landing space and considering the wind relative to your position. It also notes that a spread may need rearranging as conditions change. Treat those principles as more useful than copying the outline of a photograph.
Sketch three things before setting out: where you will remain, the open area you want to preserve, and the route for placing and recovering gear. Then add the decoy groups. This order exposes a common planning mistake: a neat pattern that puts its farthest decoy beyond the available line or retrieval method.
With a steady wind, plan a clear approach from the downwind side toward the opening, because ducks commonly make their final approach into the wind. Check where that puts the opening relative to the shoreline and your position. If a wind change puts the approach through trees, across lines or beyond your usable water, move the arrangement rather than preserve its original letter shape. No particular wind direction guarantees a landing.
Observe which species use the water and how they gather before choosing the decoy mix. A puddle-duck group in a sheltered opening and a diver line on open water call for different layouts and rig handling. Match that observed use to equipment you can manage; a package of mallard-shaped floaters does not determine what every waterbody needs.
Step 1
Choose water you can set and retrieve from
Mark your access, intended landing space and deepest placement before arranging decoys.
Check depth at the intended placements rather than assuming the whole pond matches the bank. Identify vegetation, timber, channels and places where lines could catch. Leave room for the decoys to swing without reaching another rig or blocking the approach to your landing area.
Use the spread-count guide to choose how much gear to bring. The number you own does not require you to deploy all of it. A small usable arrangement can be easier to maintain than a crowded layout with anchors outside your working area.
Compare three simple layouts
In Classic Spreads, Ducks Unlimited describes J, horseshoe and separated-group arrangements, including ways to scale them. These are layout examples, not promises that a particular pattern or decoy count will produce birds.
| Layout | Basic arrangement | What to check |
|---|---|---|
| Two groups | Separate groups with a clear opening between them | The groups should not drift together and close the opening |
| Loose J | A longer arm leads toward a more concentrated group | The arm must fit the usable water without stretching into an unsafe recovery area |
| Open horseshoe | Groups frame an opening rather than fill it | The opening should remain apparent from the expected approach direction |
Here are three possible grouping exercises for a small-water plan. They divide a chosen count rather than recommend it; move or remove groups when the opening, swing room or recovery route requires it.
| Chosen count | Illustrative arrangement | Keep open |
|---|---|---|
| 6 | Two loose groups of three | A gap between the groups |
| 12 | Three loose groups of four | A clear approach to the selected landing space |
| 18 | Three groups of six, with the outer group reduced if it crowds the water | Landing space, room for rig movement and the pickup route |
This simple top-view sketch shows the idea of two groups. It is intentionally not to scale; the letters are decoys, not prescribed quantities or distances.
Reed edge / chosen position

   D D                    D D
  D                          D

          OPEN WATER
       intended landing space

       unobstructed approach
Step 2
Arrange groups around an open area
Use a simple layout with room between groups instead of filling every patch of water.
Set one manageable group, then a second if the space and load allow it. Look back at the clear area rather than trying to make a perfectly even grid. Keep an access route through the arrangement and room for each decoy's movement.
Adapt a small pond, marsh or timber opening
A small pond may offer only one practical landing area and one access point. Work within those constraints rather than forcing a large pattern onto it. In a marsh, vegetation can divide what looks like open water into several different line paths. In flooded timber, trunks and branches can obstruct deployment and recovery even when the surface looks clear.
For each setting, ask the same physical questions: can the anchor reach the bottom, can the decoy move without catching, and can the rig be recovered by the planned route? These checks give a small spread its own useful plan; they do not require another page for every habitat name.
Step 3
Check each rig at its placement
Confirm the anchor reaches bottom, the decoy floats freely and the rig stays in its intended area.
Place a rig, let its anchor settle and watch its movement before adding the rest. Some swing around an anchor can be normal. Progressive relocation, a nose pulled down or a line catching the next decoy needs correction. Use the rig troubleshooting guide to identify the symptom before changing equipment.
The Texas rig setup pillar covers individual rig attachment. If your placements need a shared main line or greater reach, use the longline setup guide. A layout drawing does not determine the anchoring system.
Keep motion and independent rigs clear of each other
A manual jerk rig has a moving line path. Keep that path separate from individual anchor lines and the landing space you want to maintain. Check the arrangement through its full movement rather than judging it only while everything is still.
Mixed duck and goose floaters also need individual fit checks. A larger body may need a different attachment, line or anchor; read goose-decoy rig compatibility before sharing a bundle between different decoy types.
Adjust the cause you observe
Step 4
Observe, adjust and plan pickup
Recheck landing space and rig movement when wind or water changes, keeping the recovery route clear.
If the wind turns, first inspect whether the opening and access still make sense. If a group moves, inspect its individual rigs. If birds consistently use another edge, reassess the arrangement without assuming that adding more decoys is the only response. Recover gear before conditions exceed your planned access or retrieval ability.
Our wind guide and current guide address holding and retrieval concerns. Late-season or pressured-water adjustments should respond to what you observe; this guide does not prescribe an automatic seasonal decoy count or guarantee that changing patterns will solve every refusal.
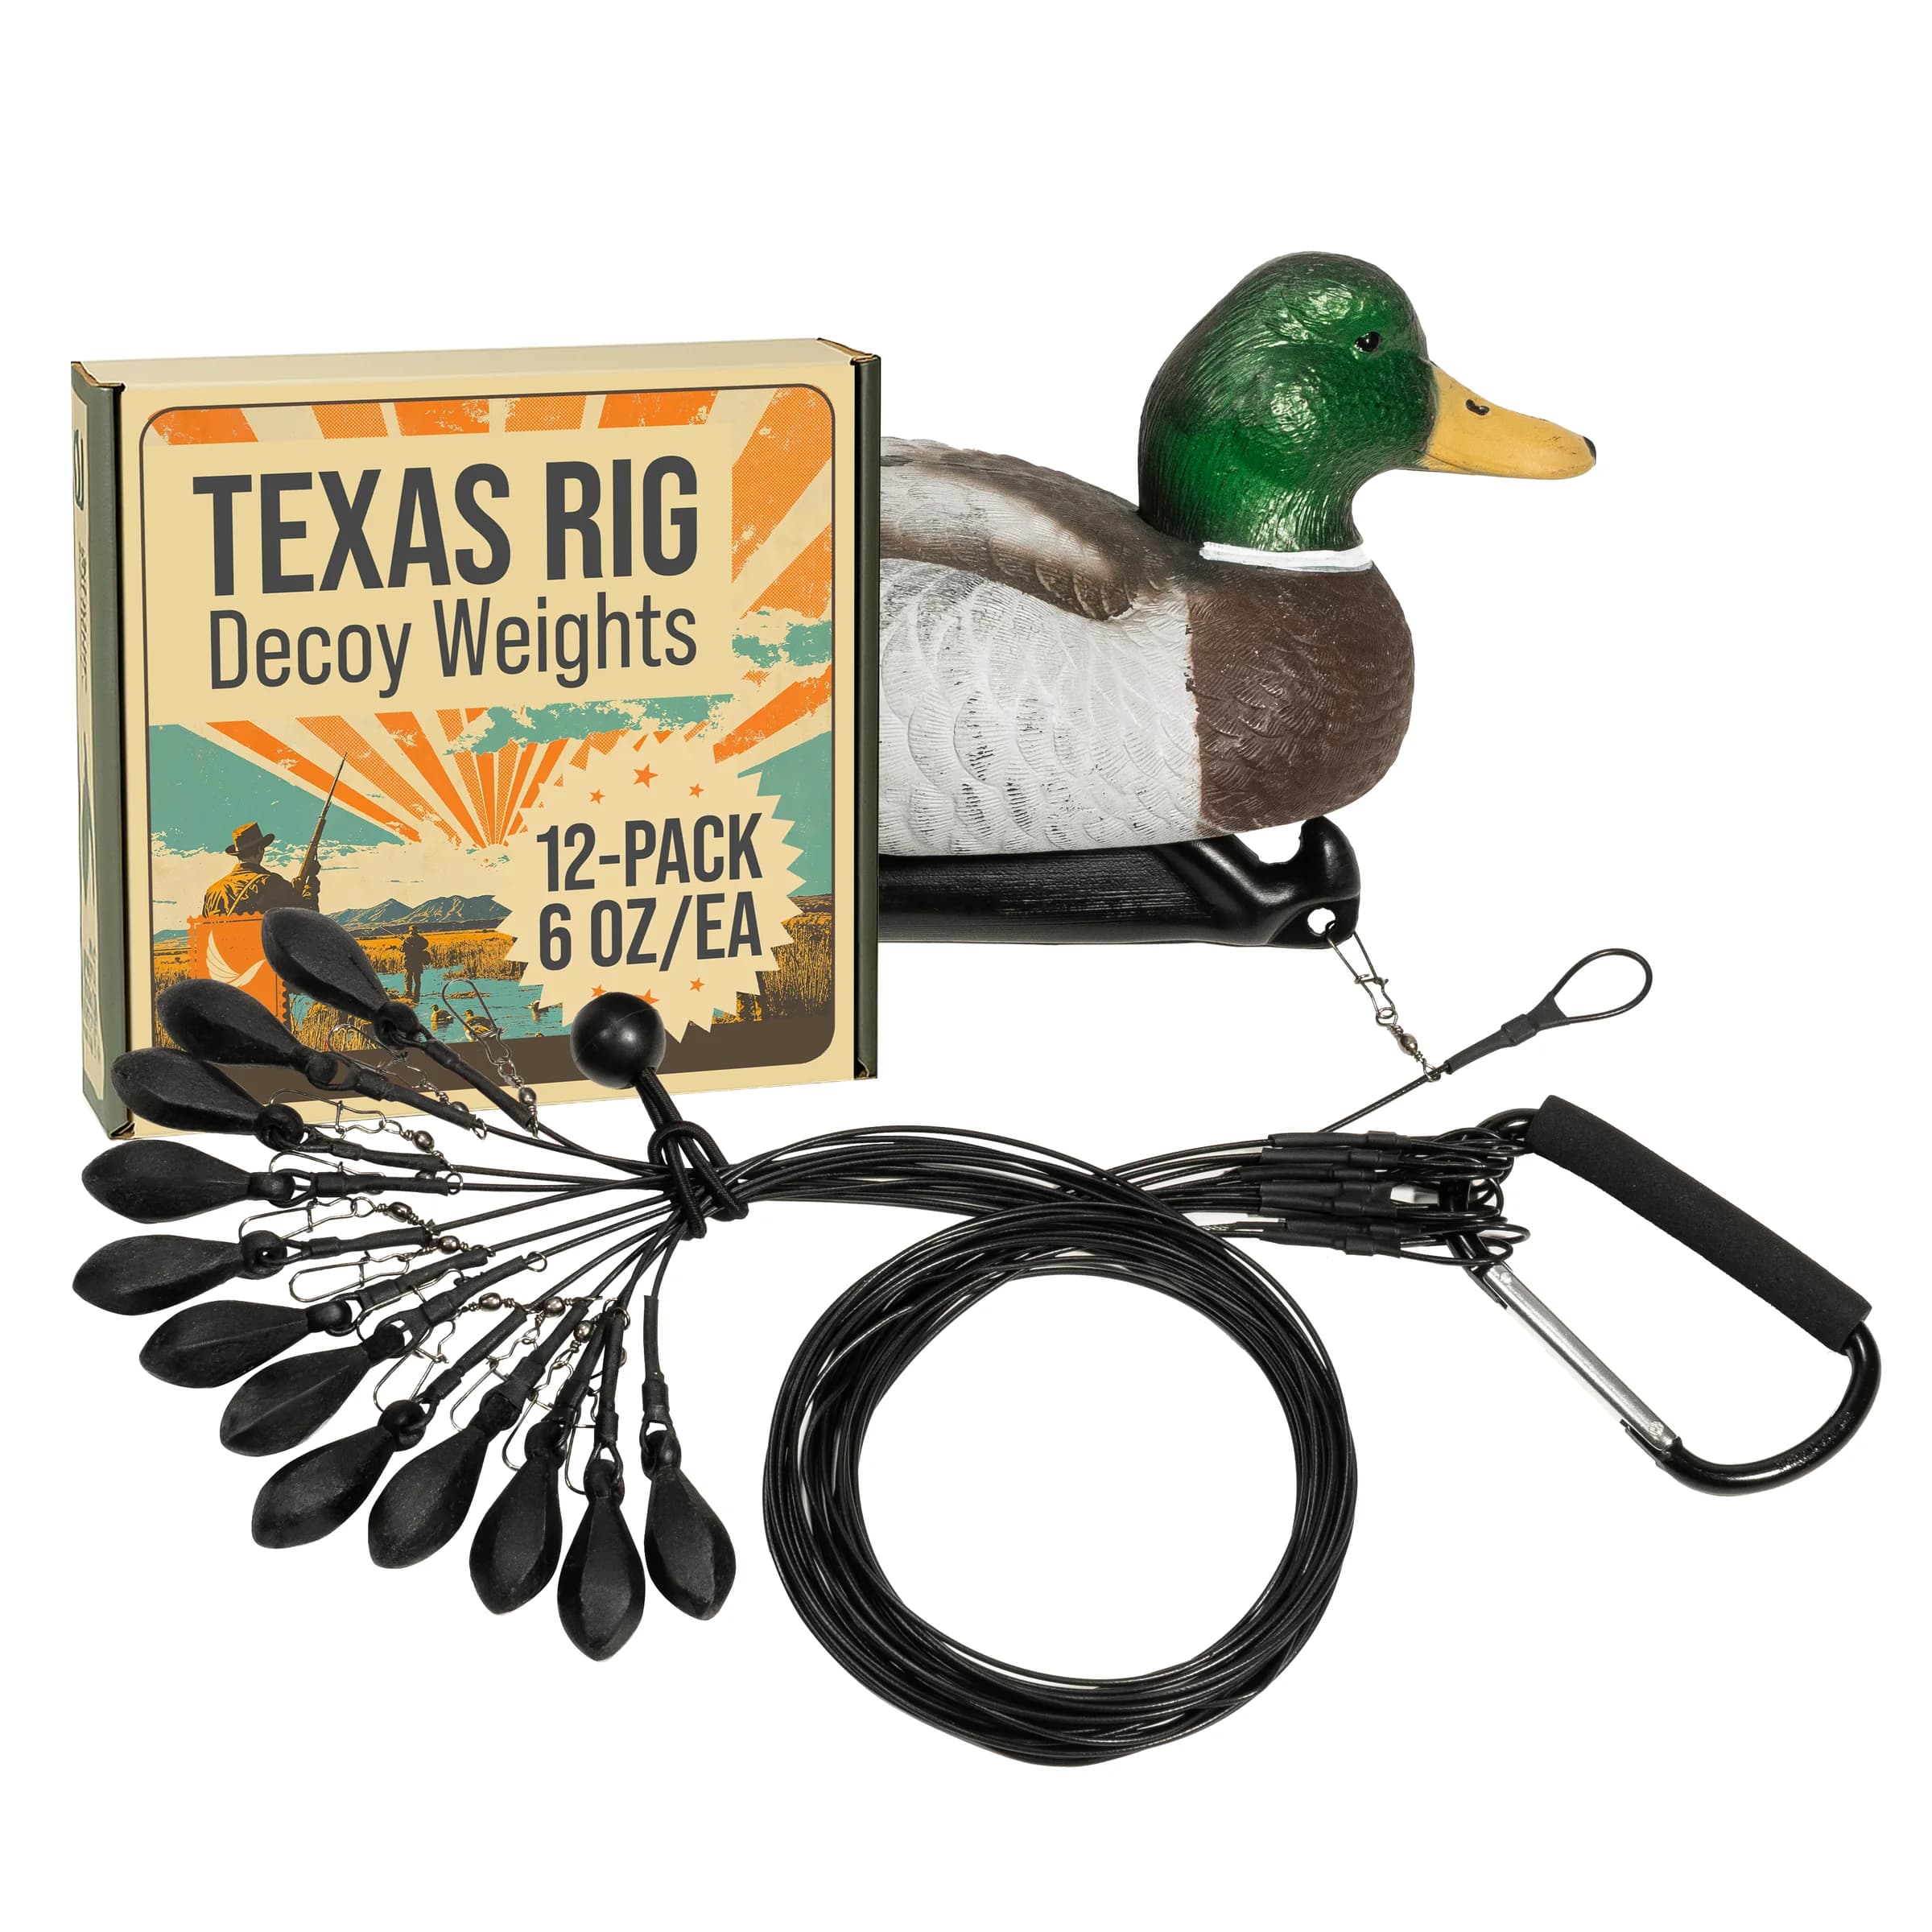
For shallow placements where 48-inch nominal cable, 6 oz individual anchors and compatible decoy connections fit the plan, review the Lirben 12-pack. Its purpose is to rig twelve individual decoys; it does not include the decoys, a longline or a motion system.
For your next setup
Lirben Texas Rig Decoy Weights - 6 oz (12-Pack)
Twelve individual rigs. Choose the fit for your water.